Illusionist's Heart Locket
This was a personal project. It is a locket inspired and based on the locket seen in the movie The Illusionist. Like any good magician, the character in the movie does not reveal the trick that makes the locket so unique. So I decided to reverse-engineer the mechanism and make it myself!


Motivation
This was to be a gift for my girlfriend at the time.
Design
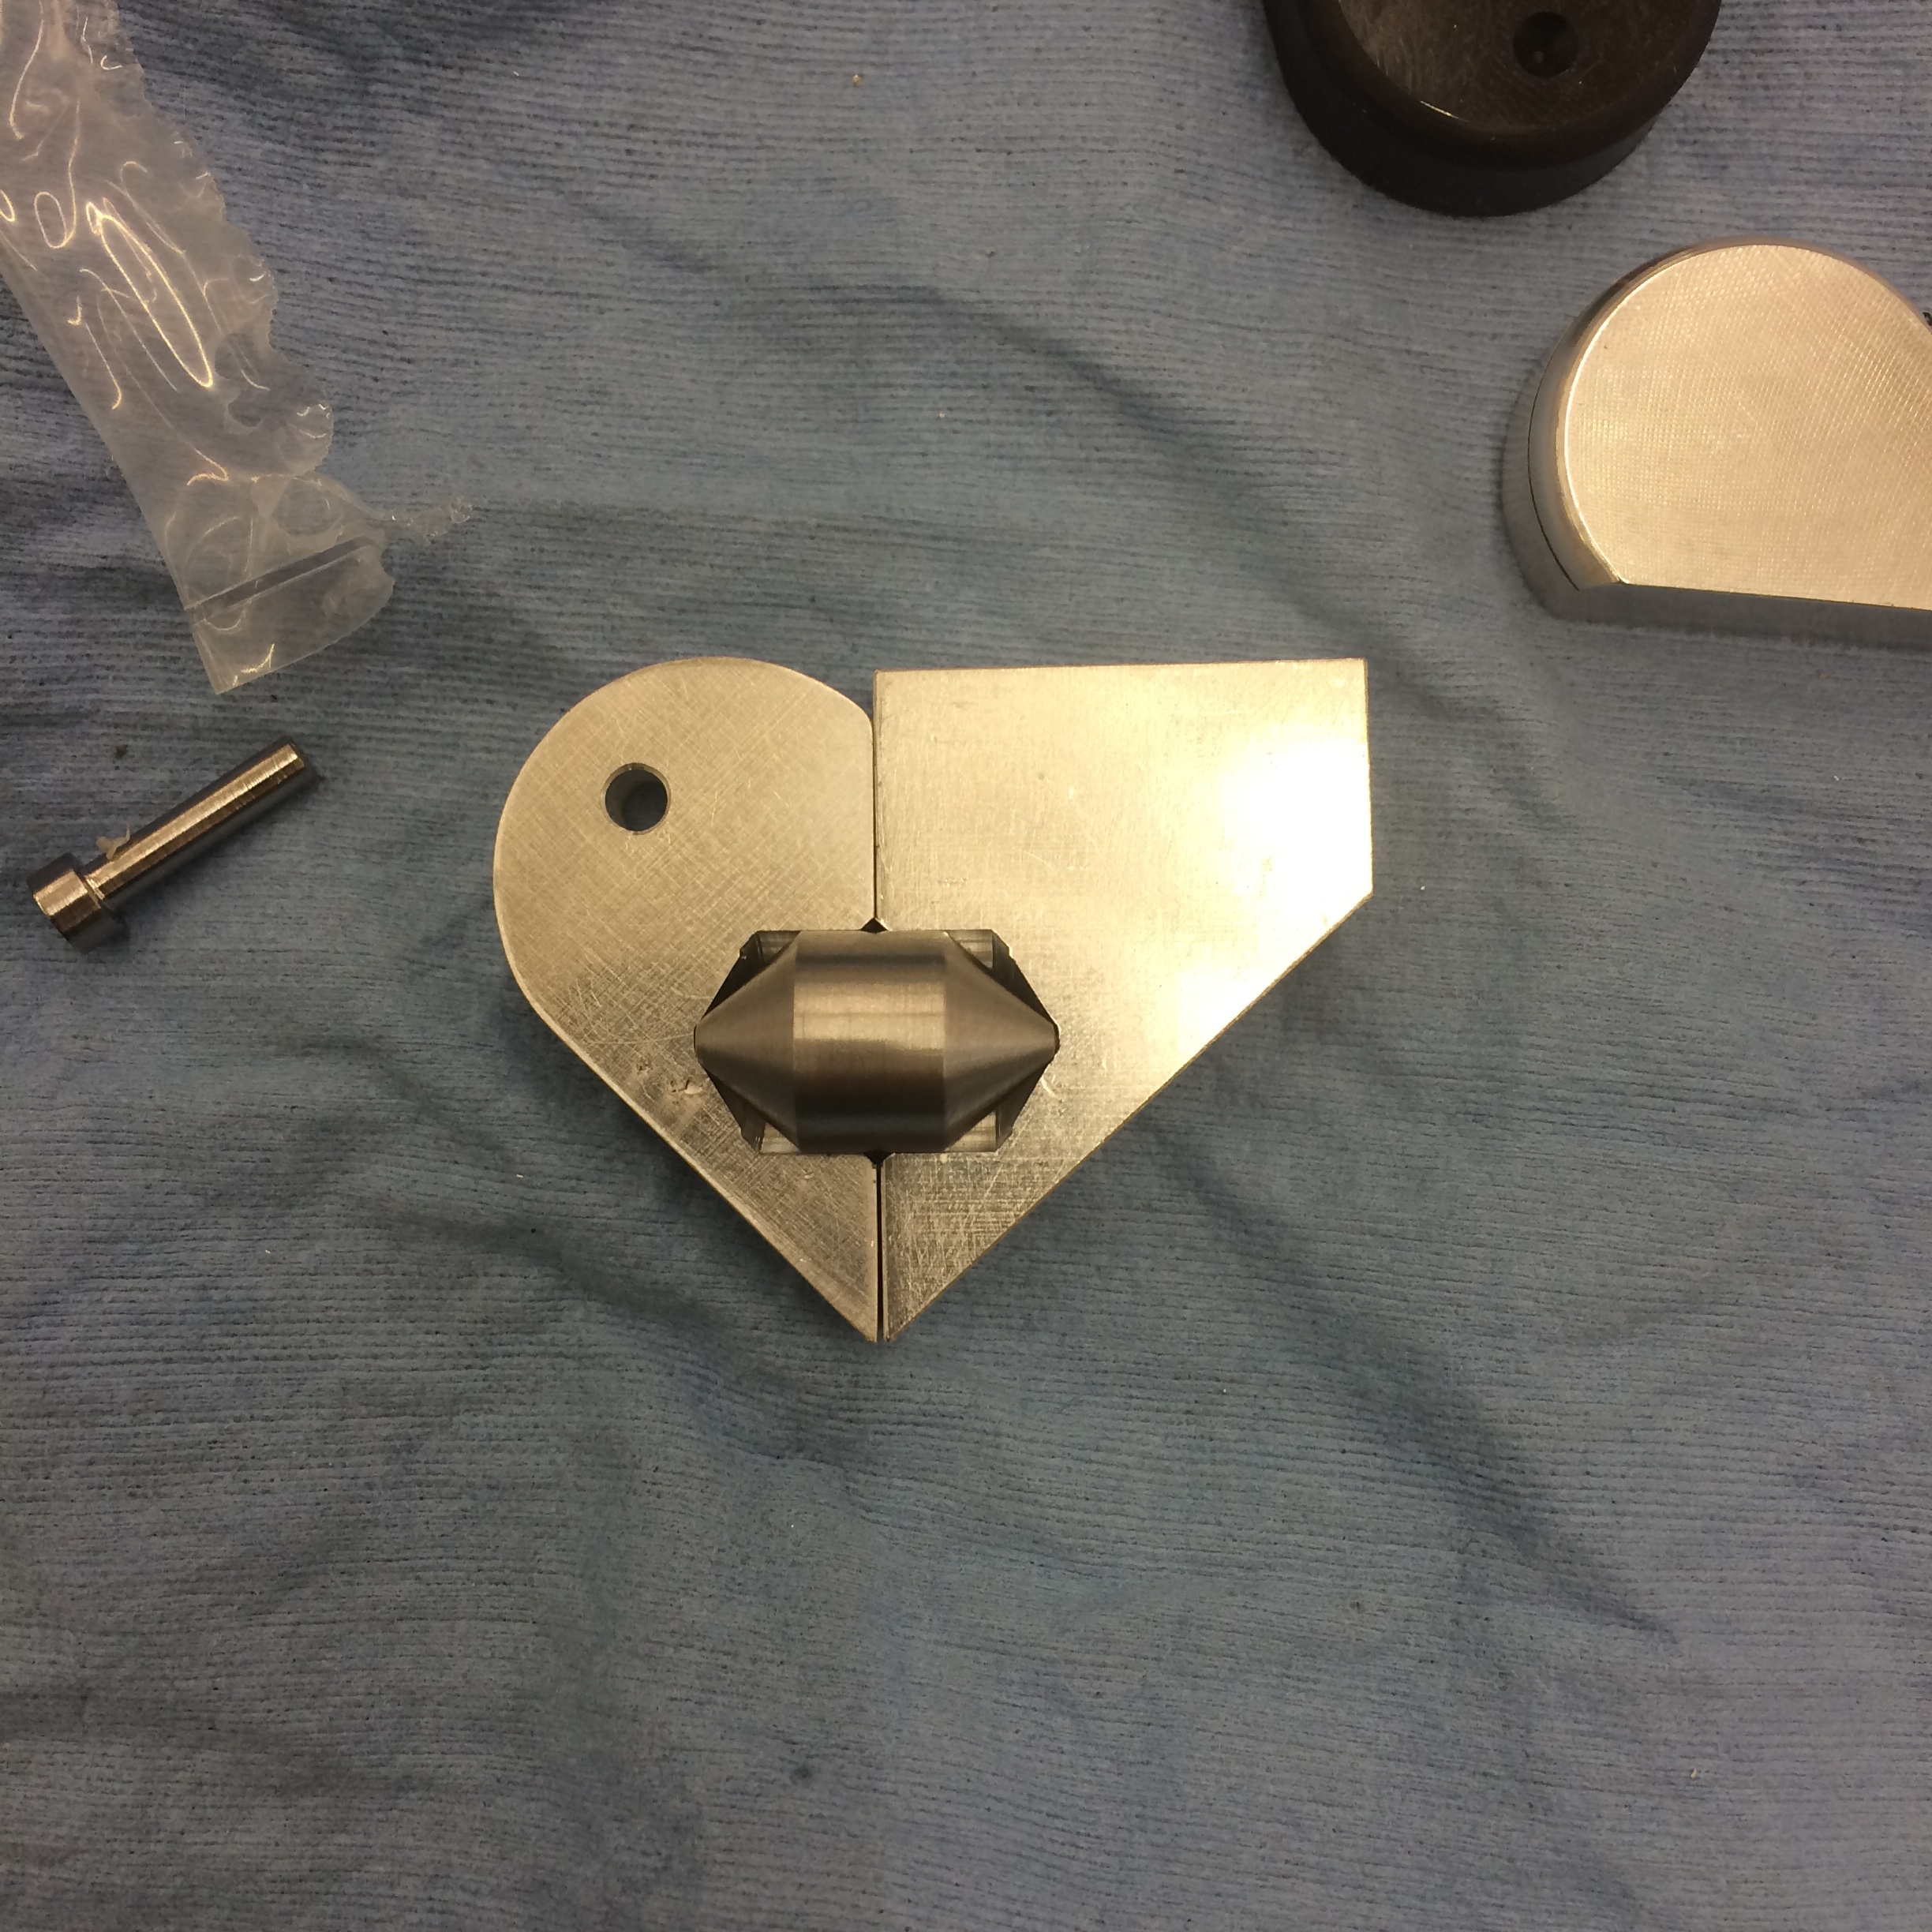
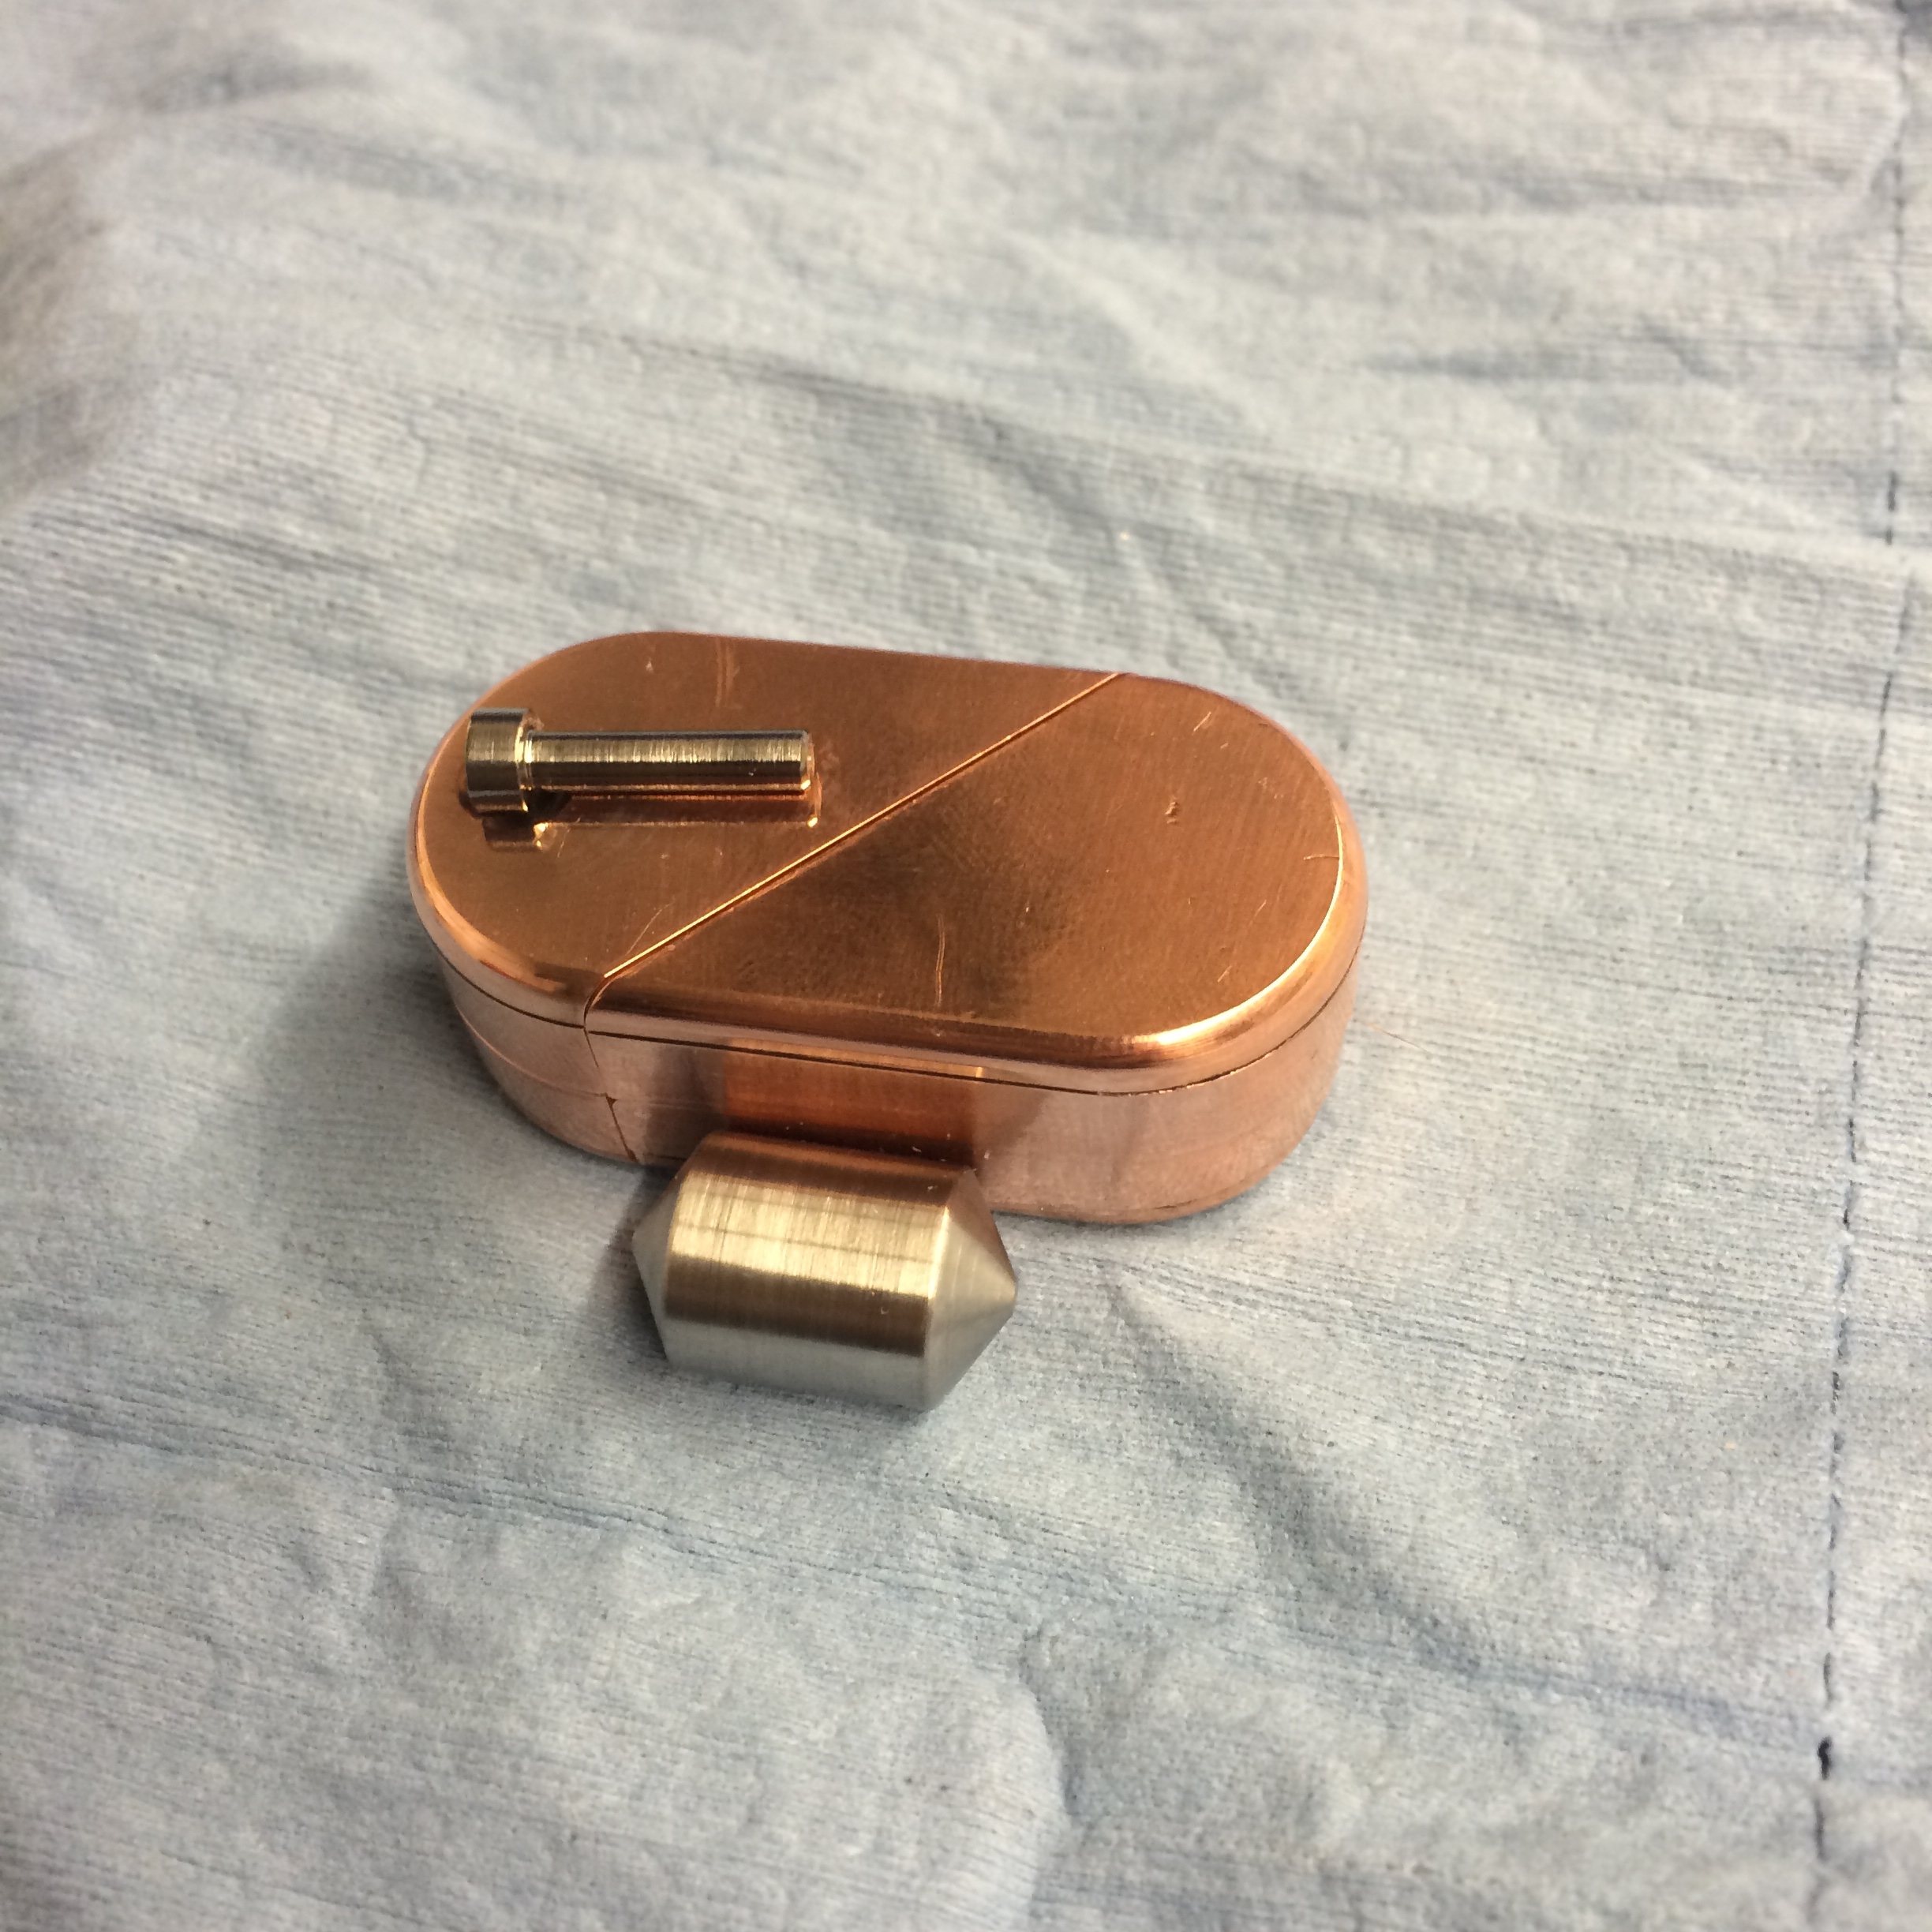
Like any normal locket, this locket opens to reveal two pictures. However, the locket has two different configurations and depending on the configuration it is opened in, a different picture is revealed. This is achieved through a pair of barrels which change places when the configuration changes. Neodymium disc magnets are used to hold the locket together.
To see some images of how this actually works read my blogpost on the subject.
Construction
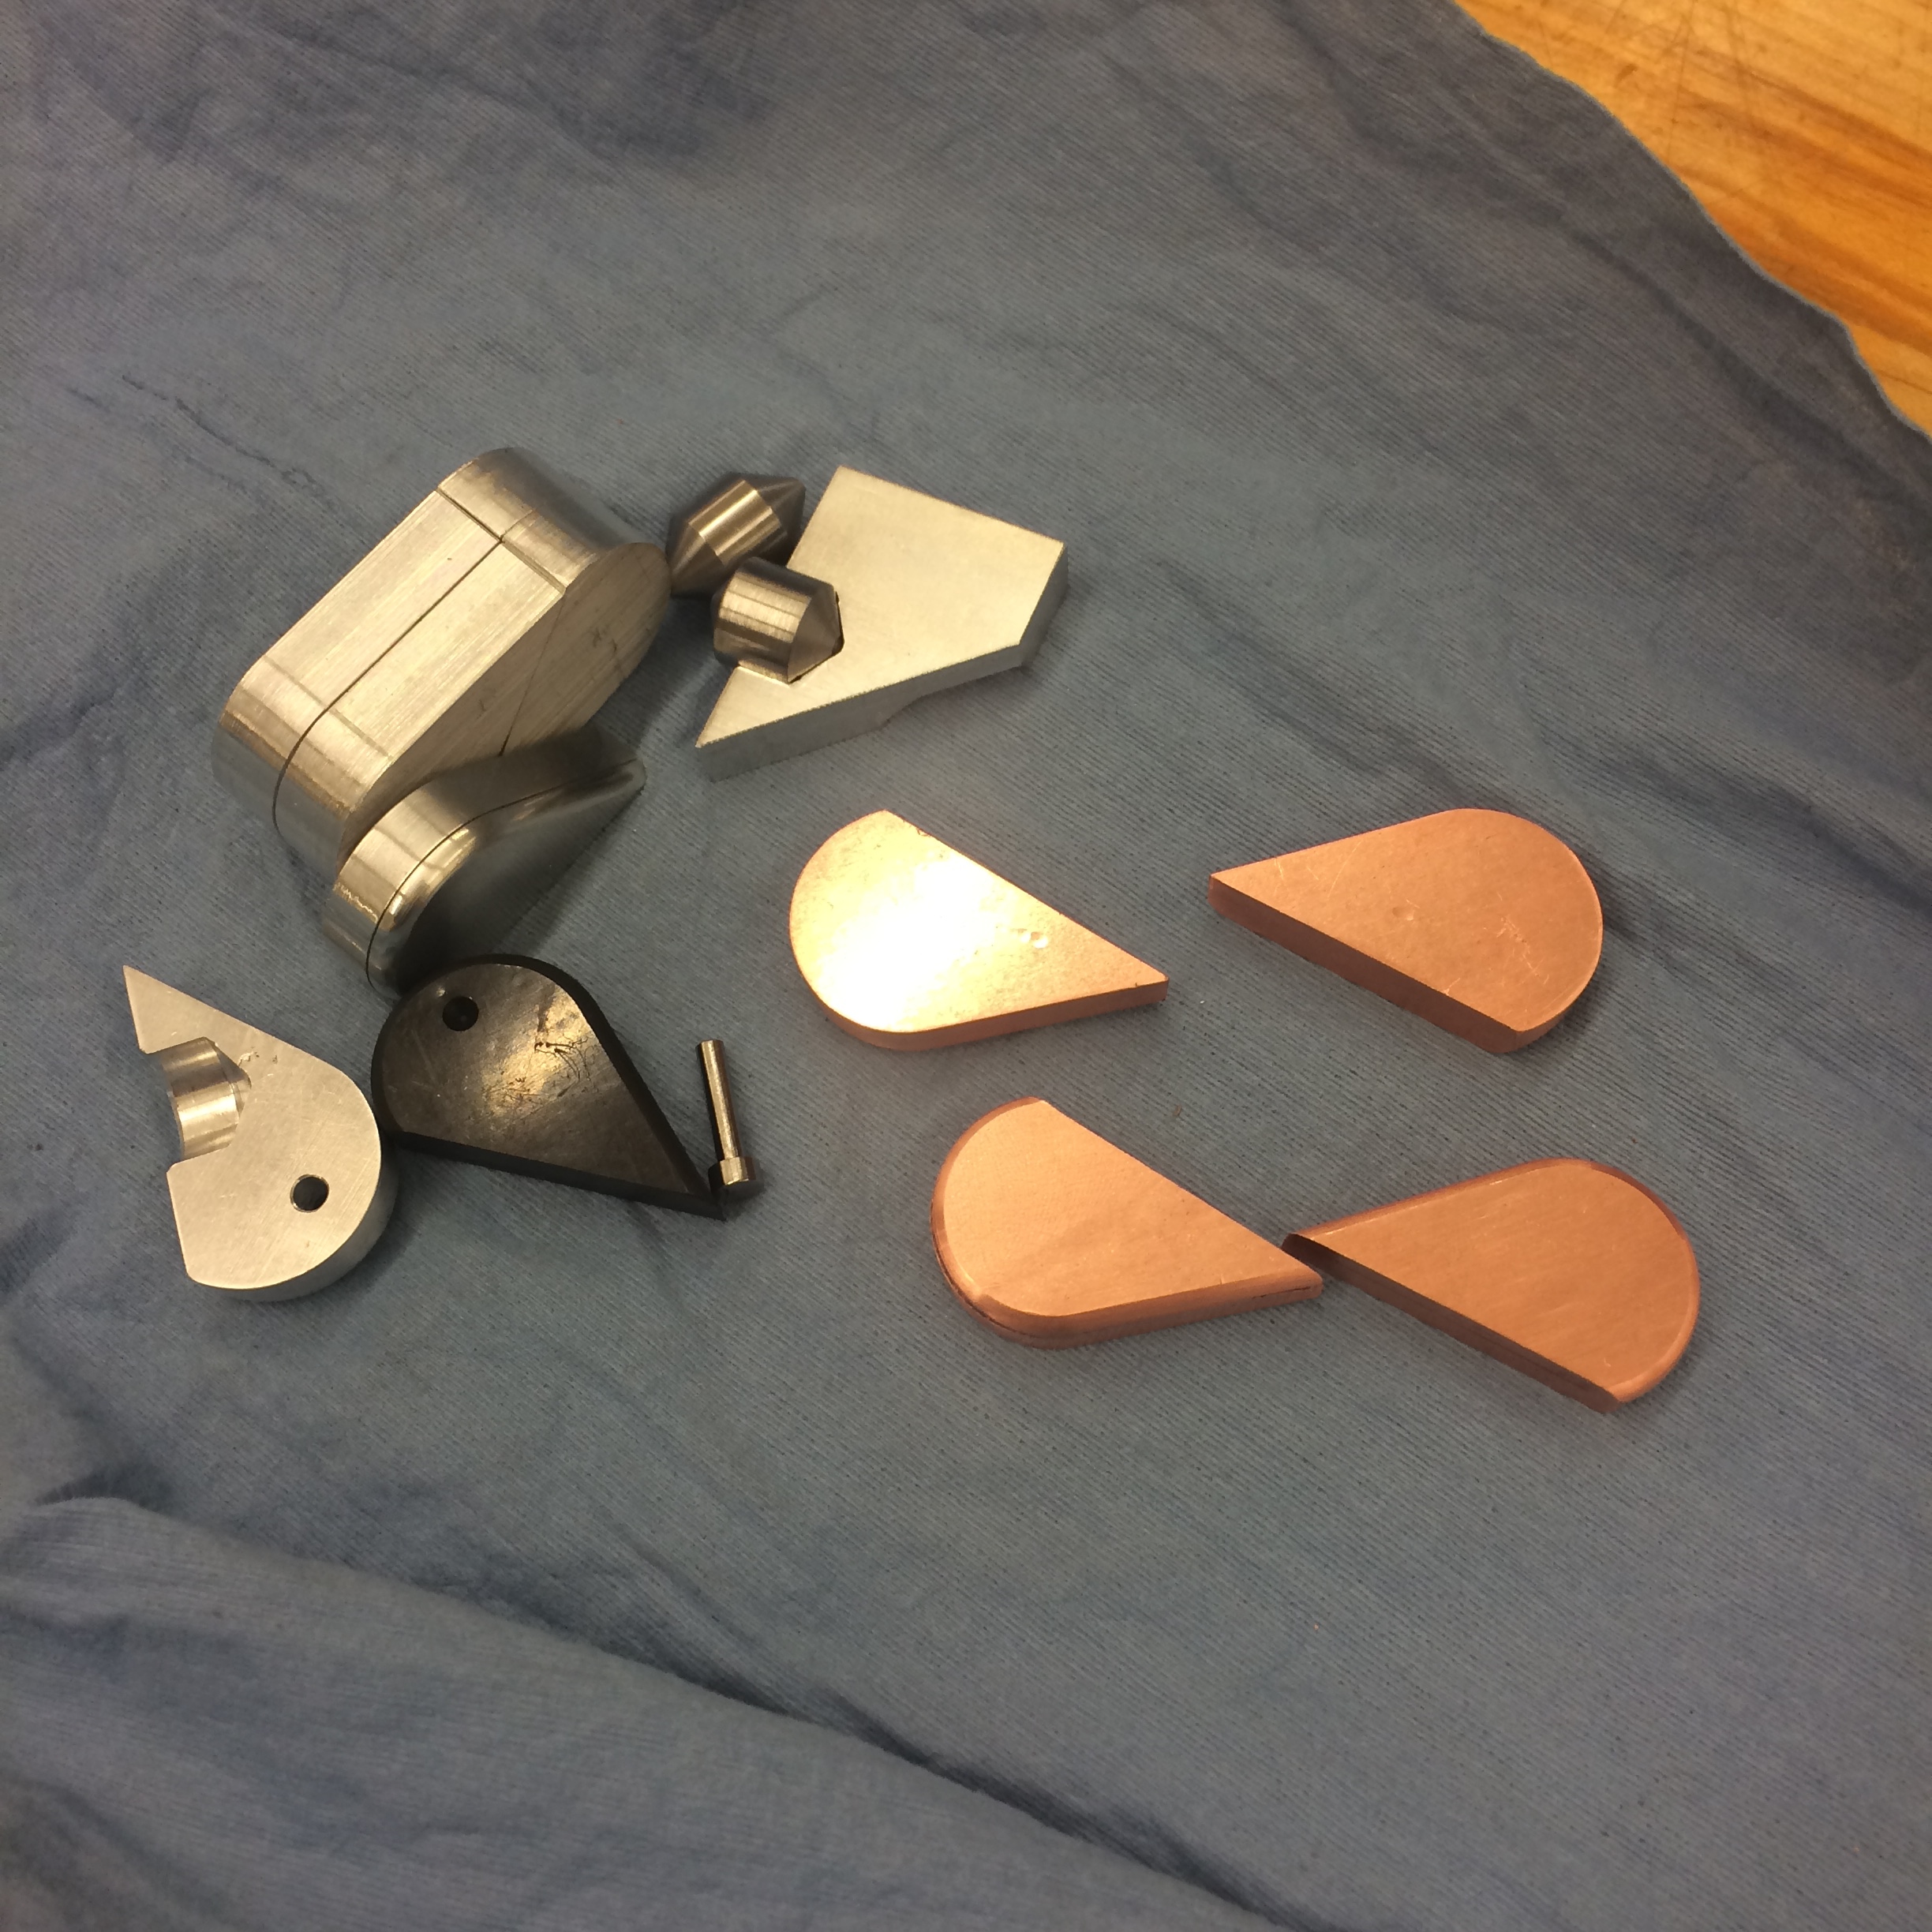
Fabrication of the locket was very difficult. The complex nature of the design dictated much of the geometry, and I did not have much choice in how I manufactured the parts. To ensure the final product was a success, I prototyped or practiced every critical machining operation or part so that when it all came together, I wouldn't mess it up.
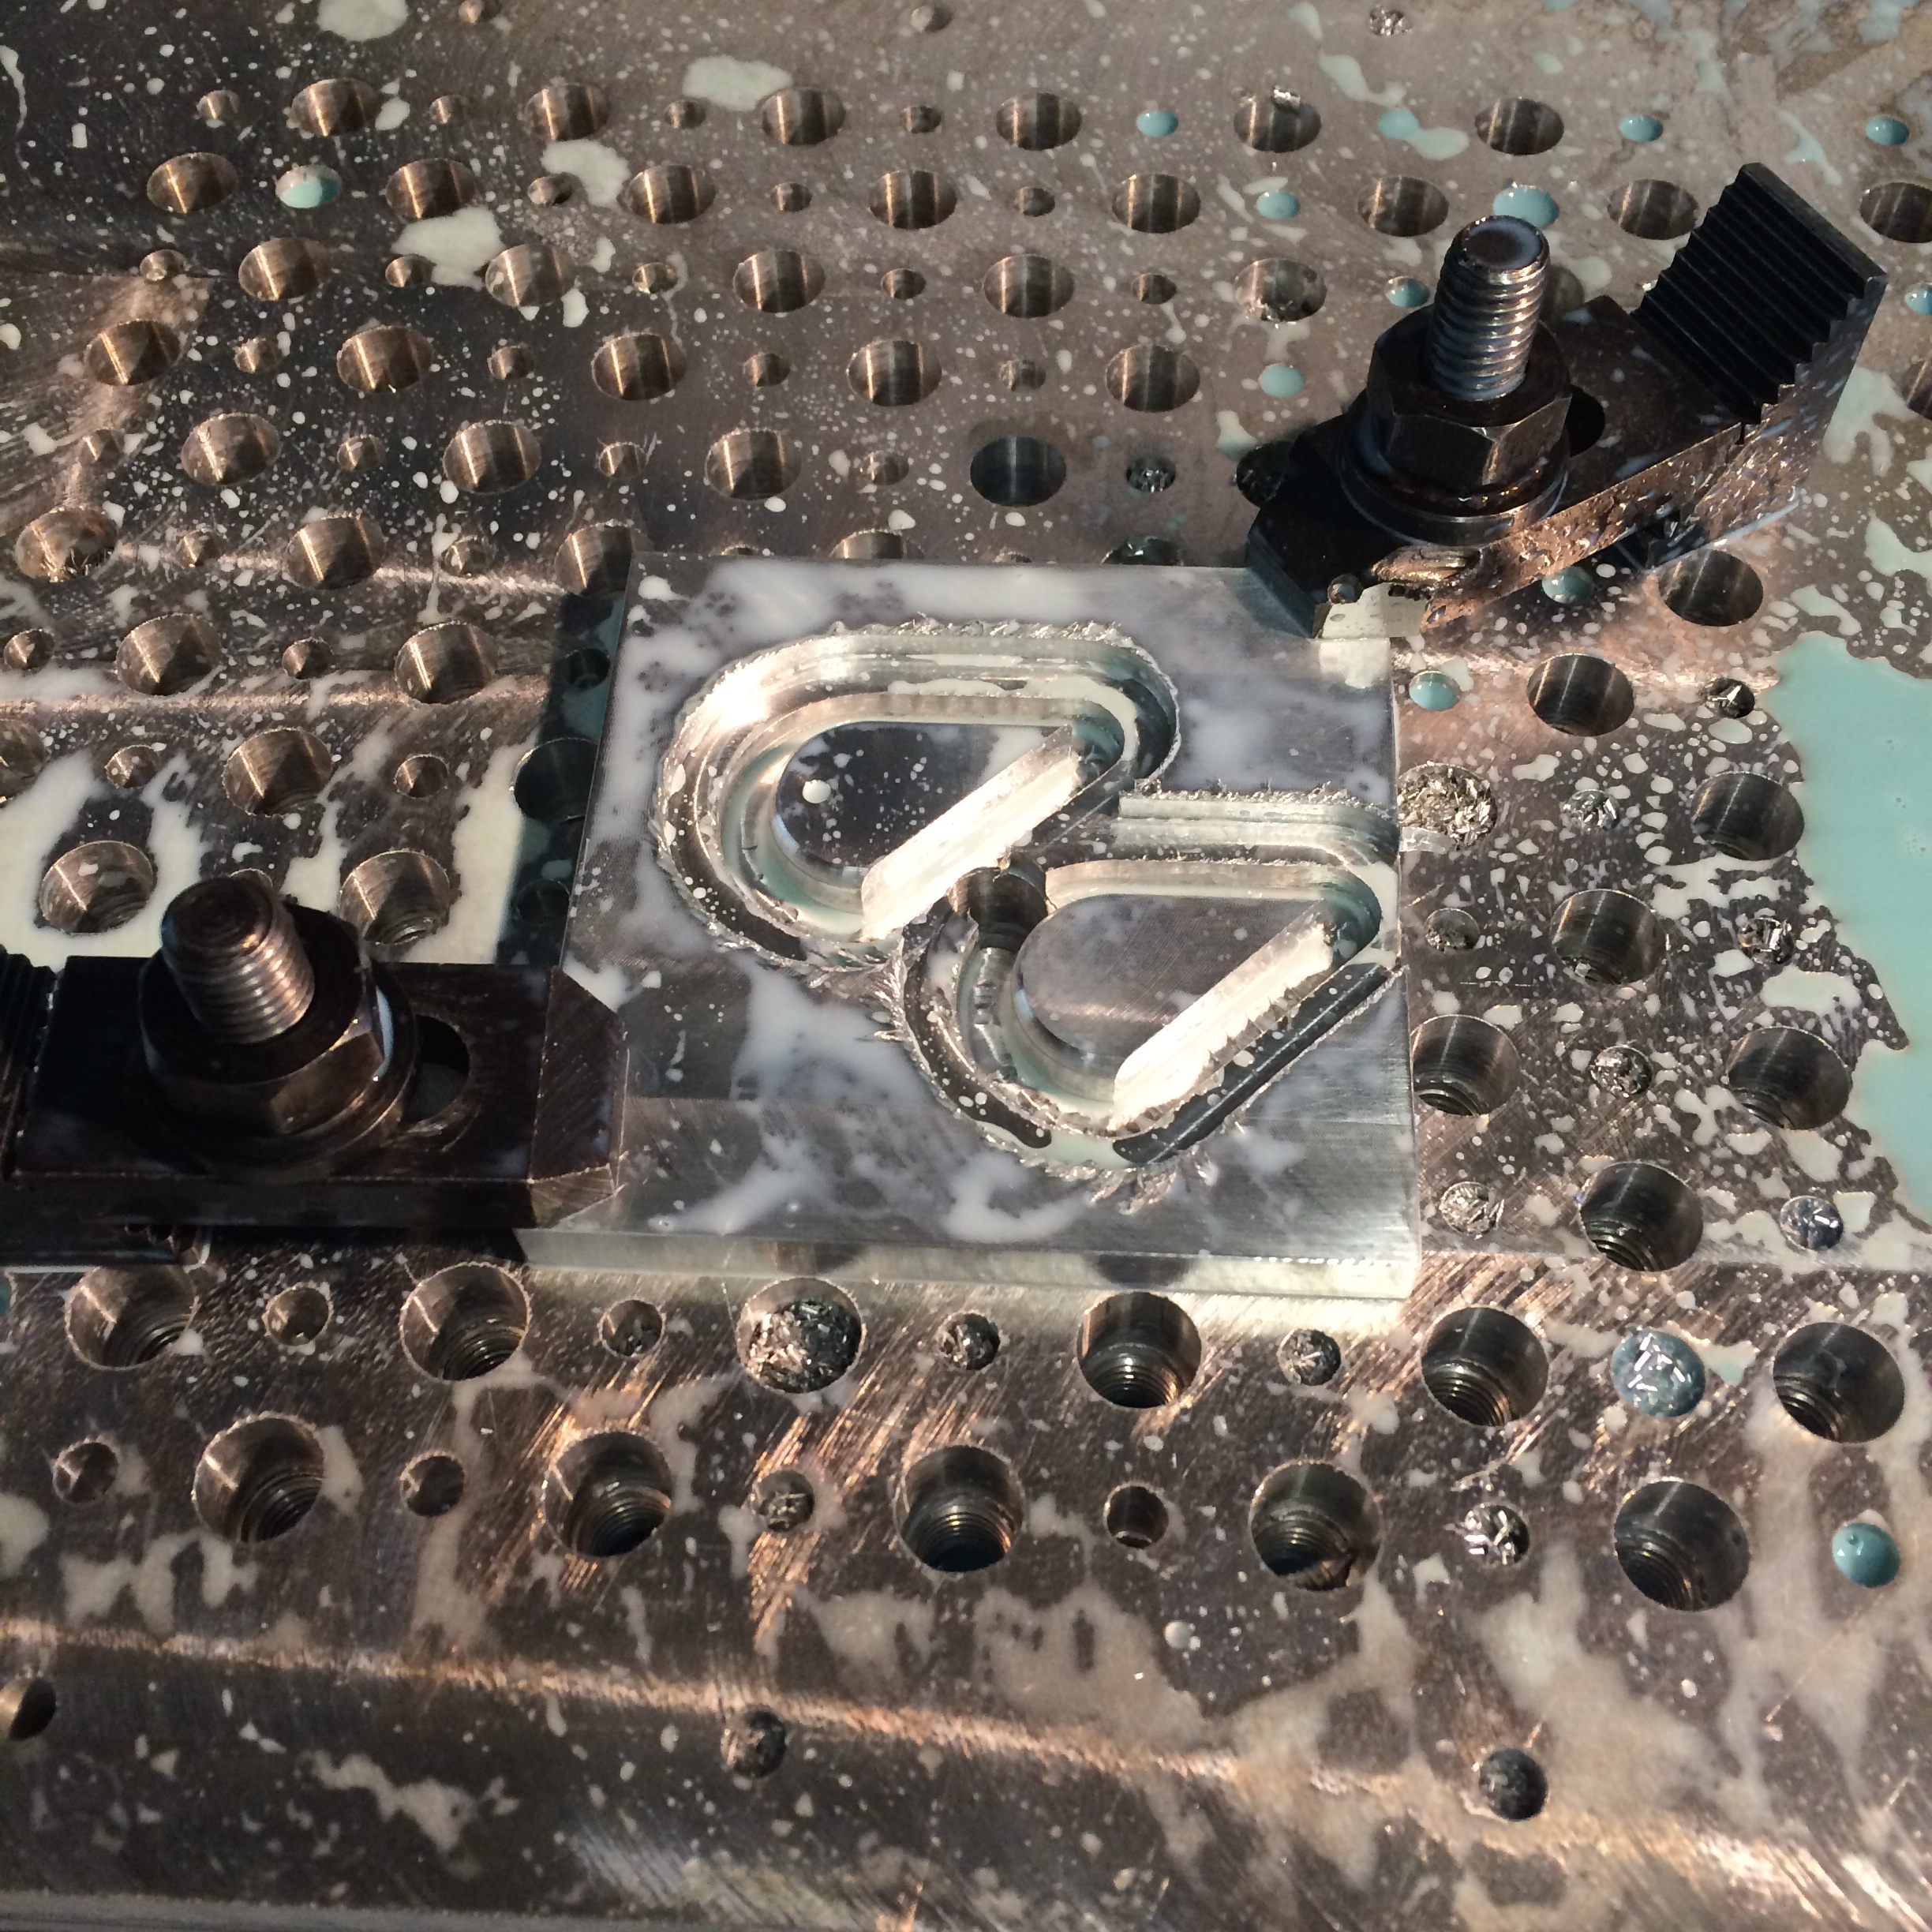
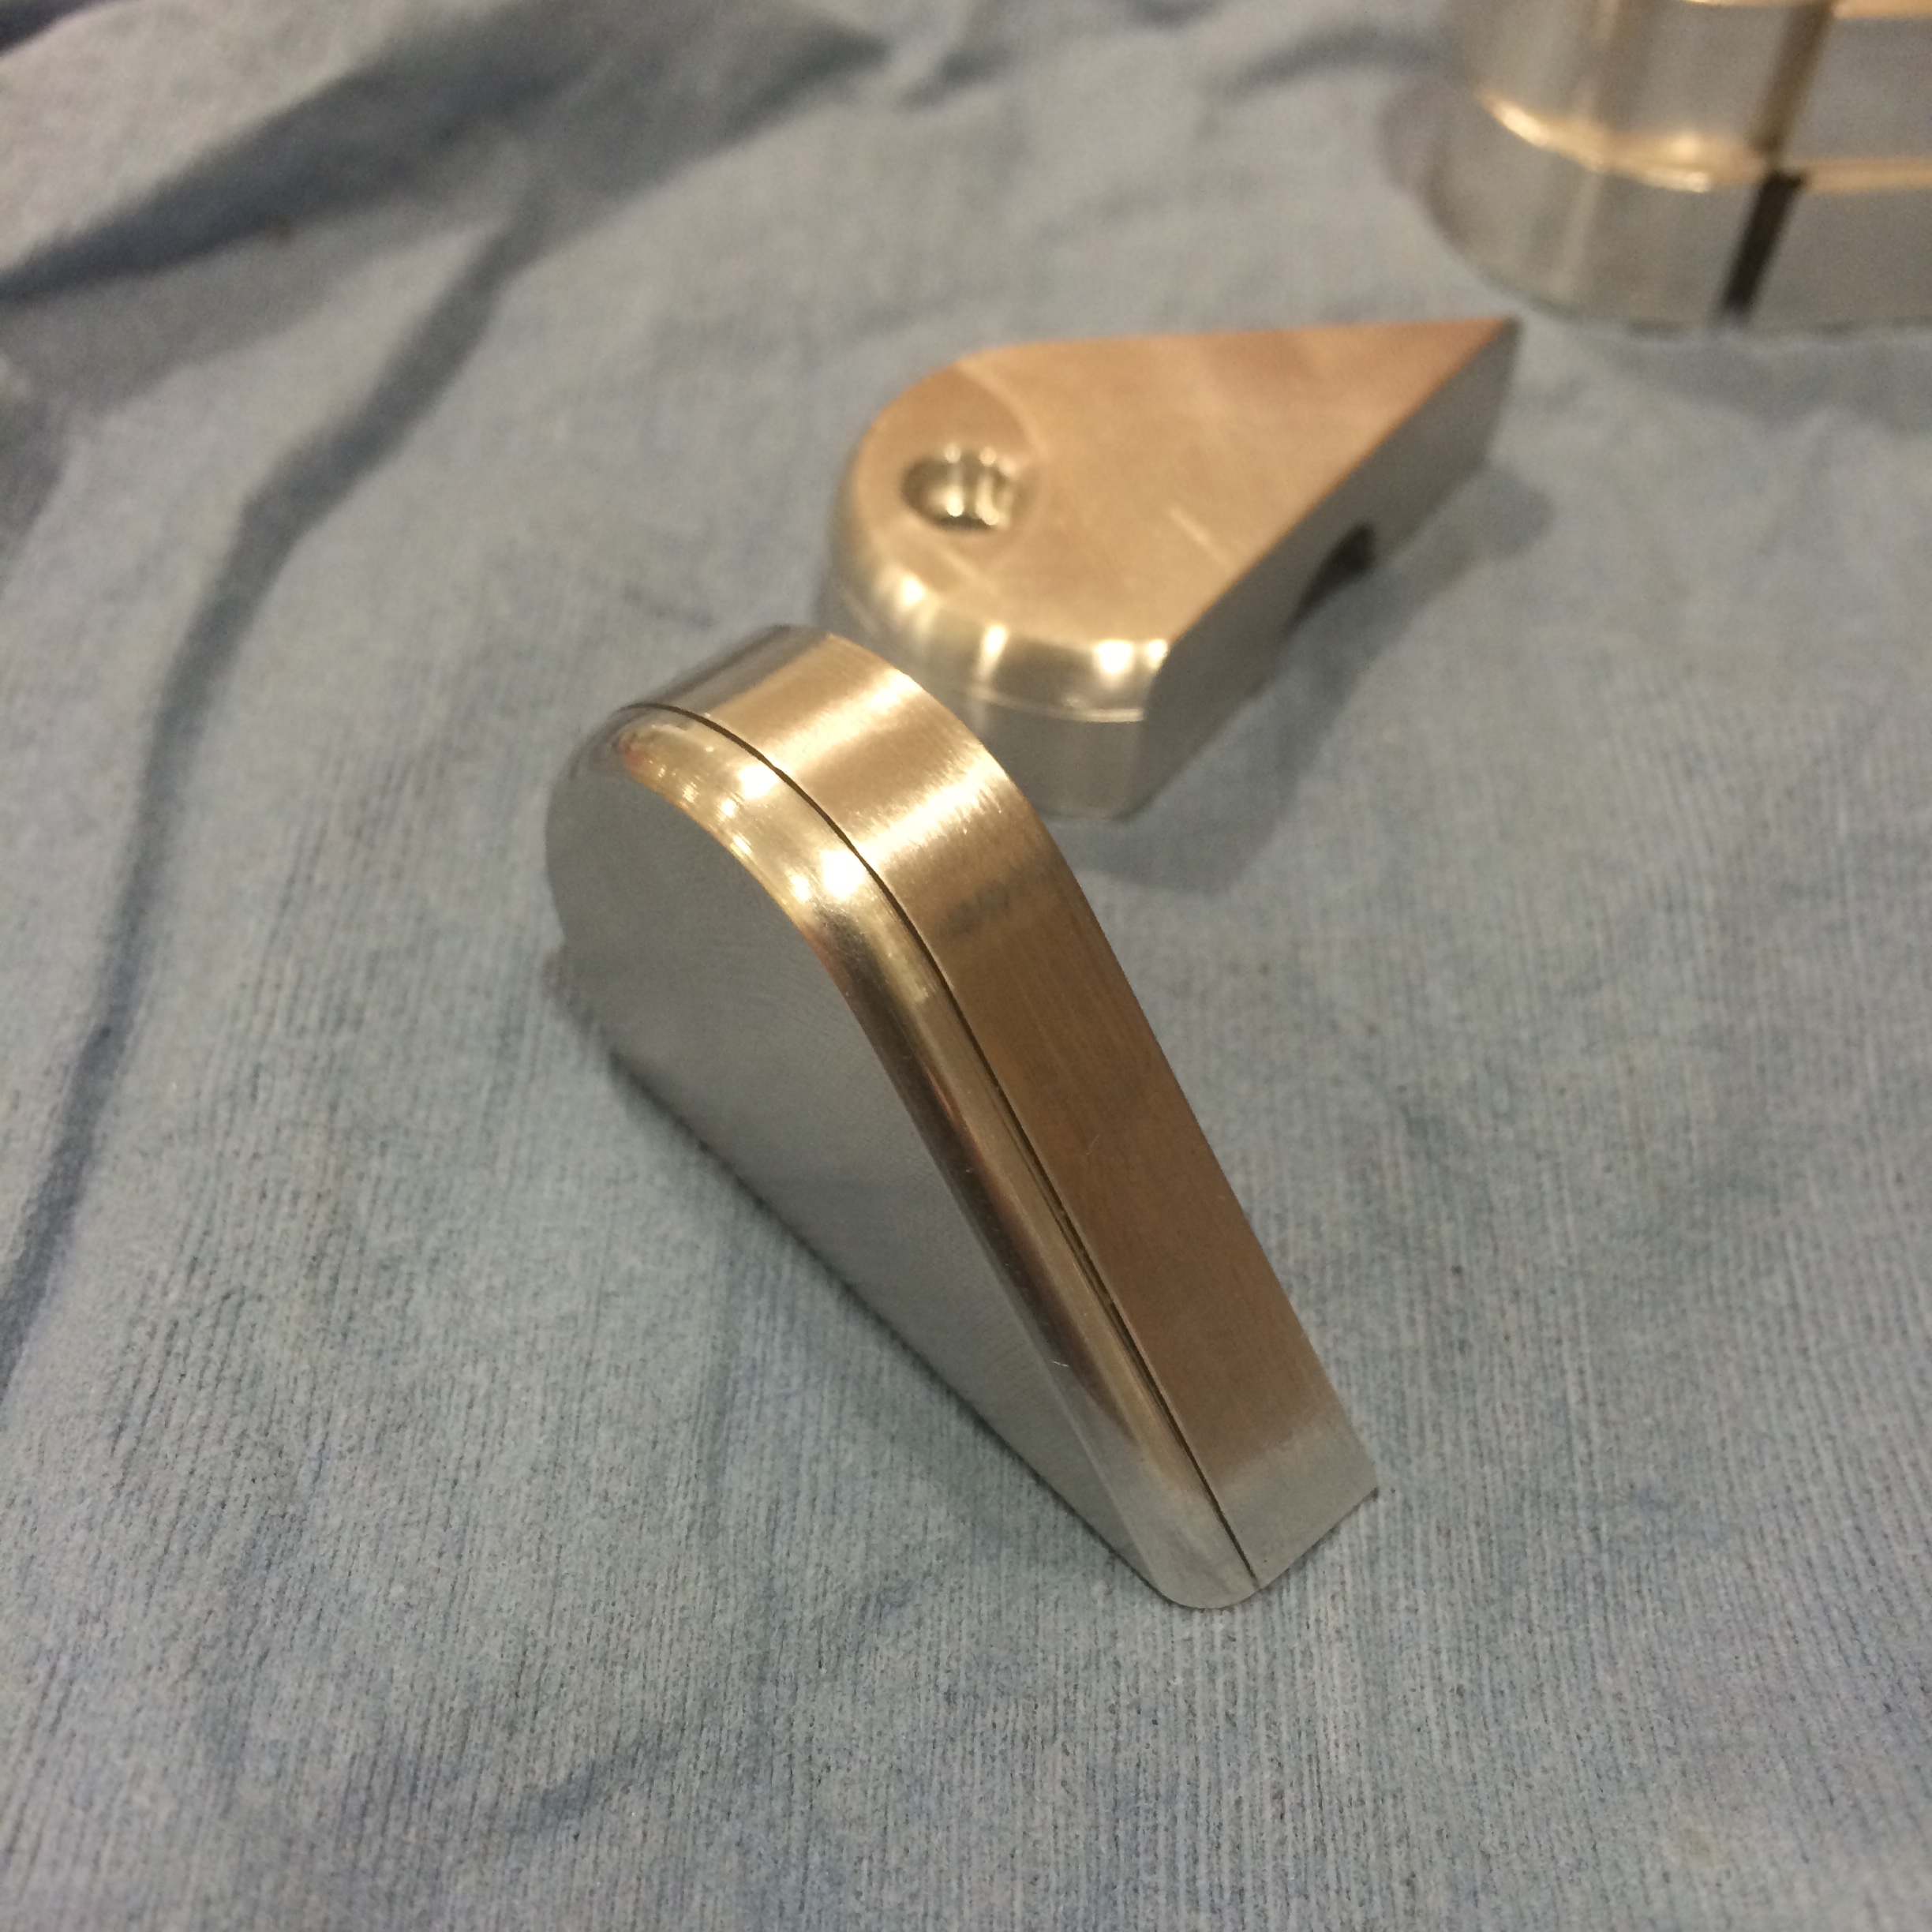
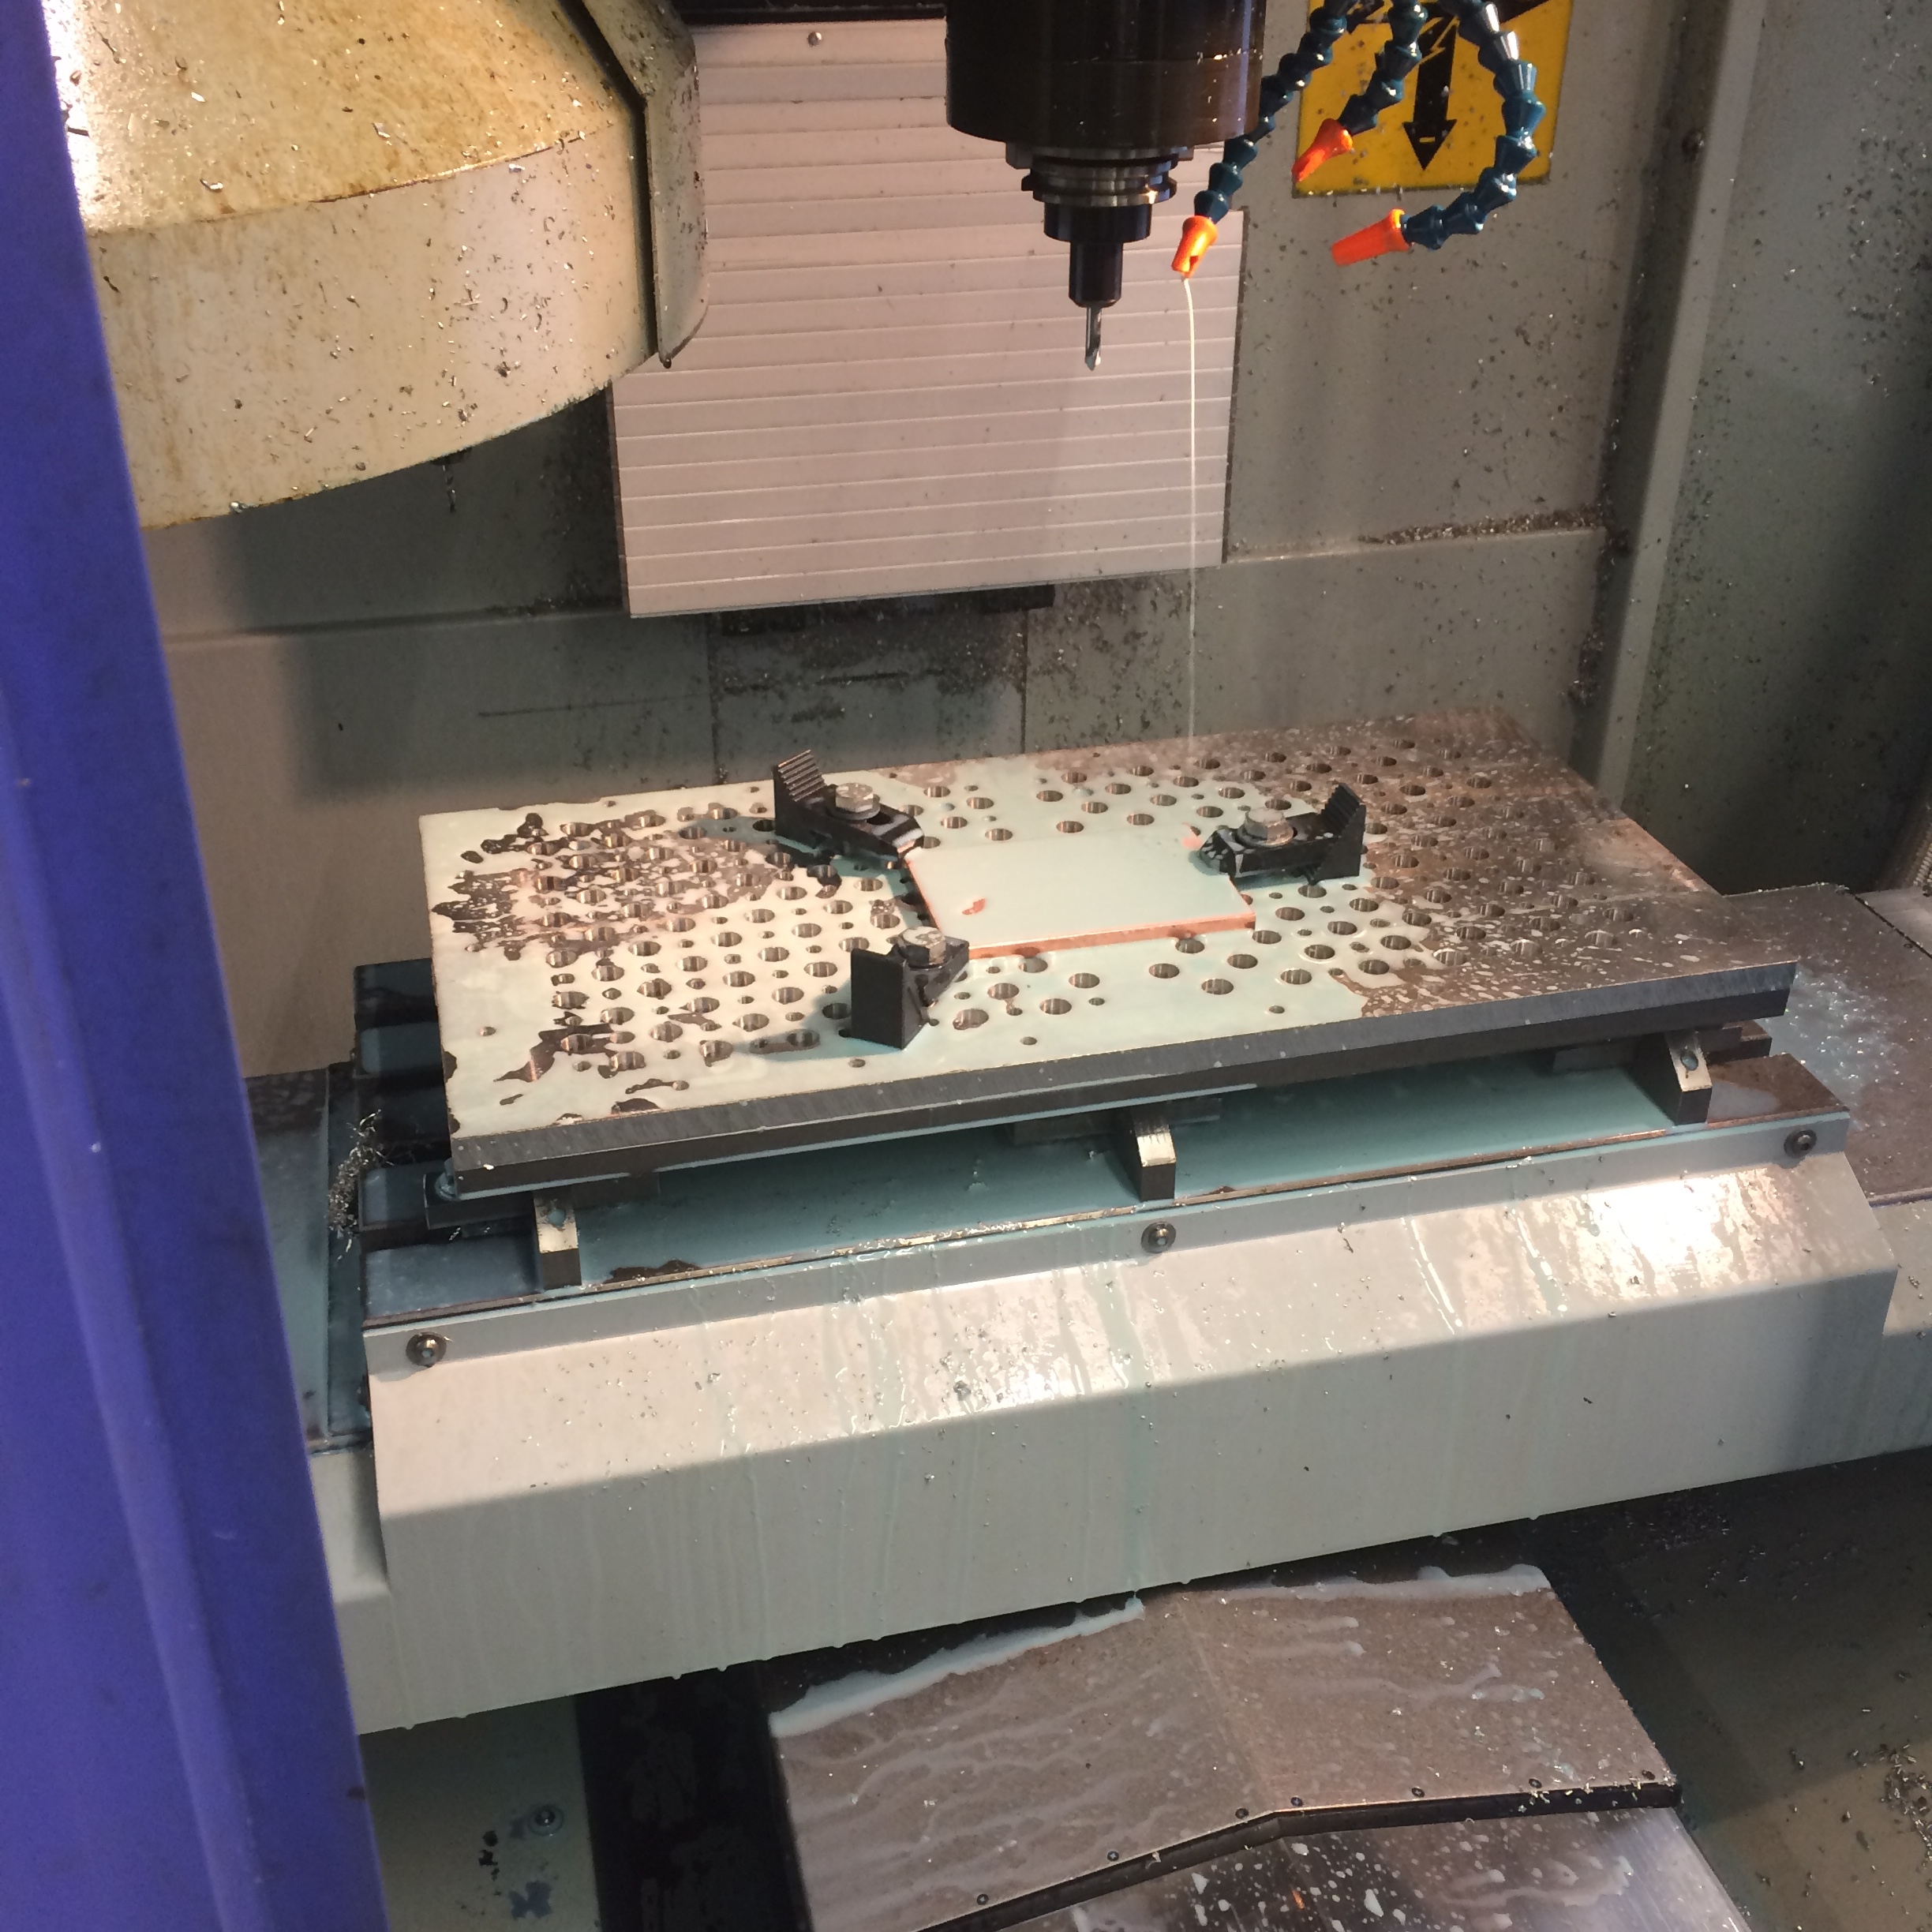
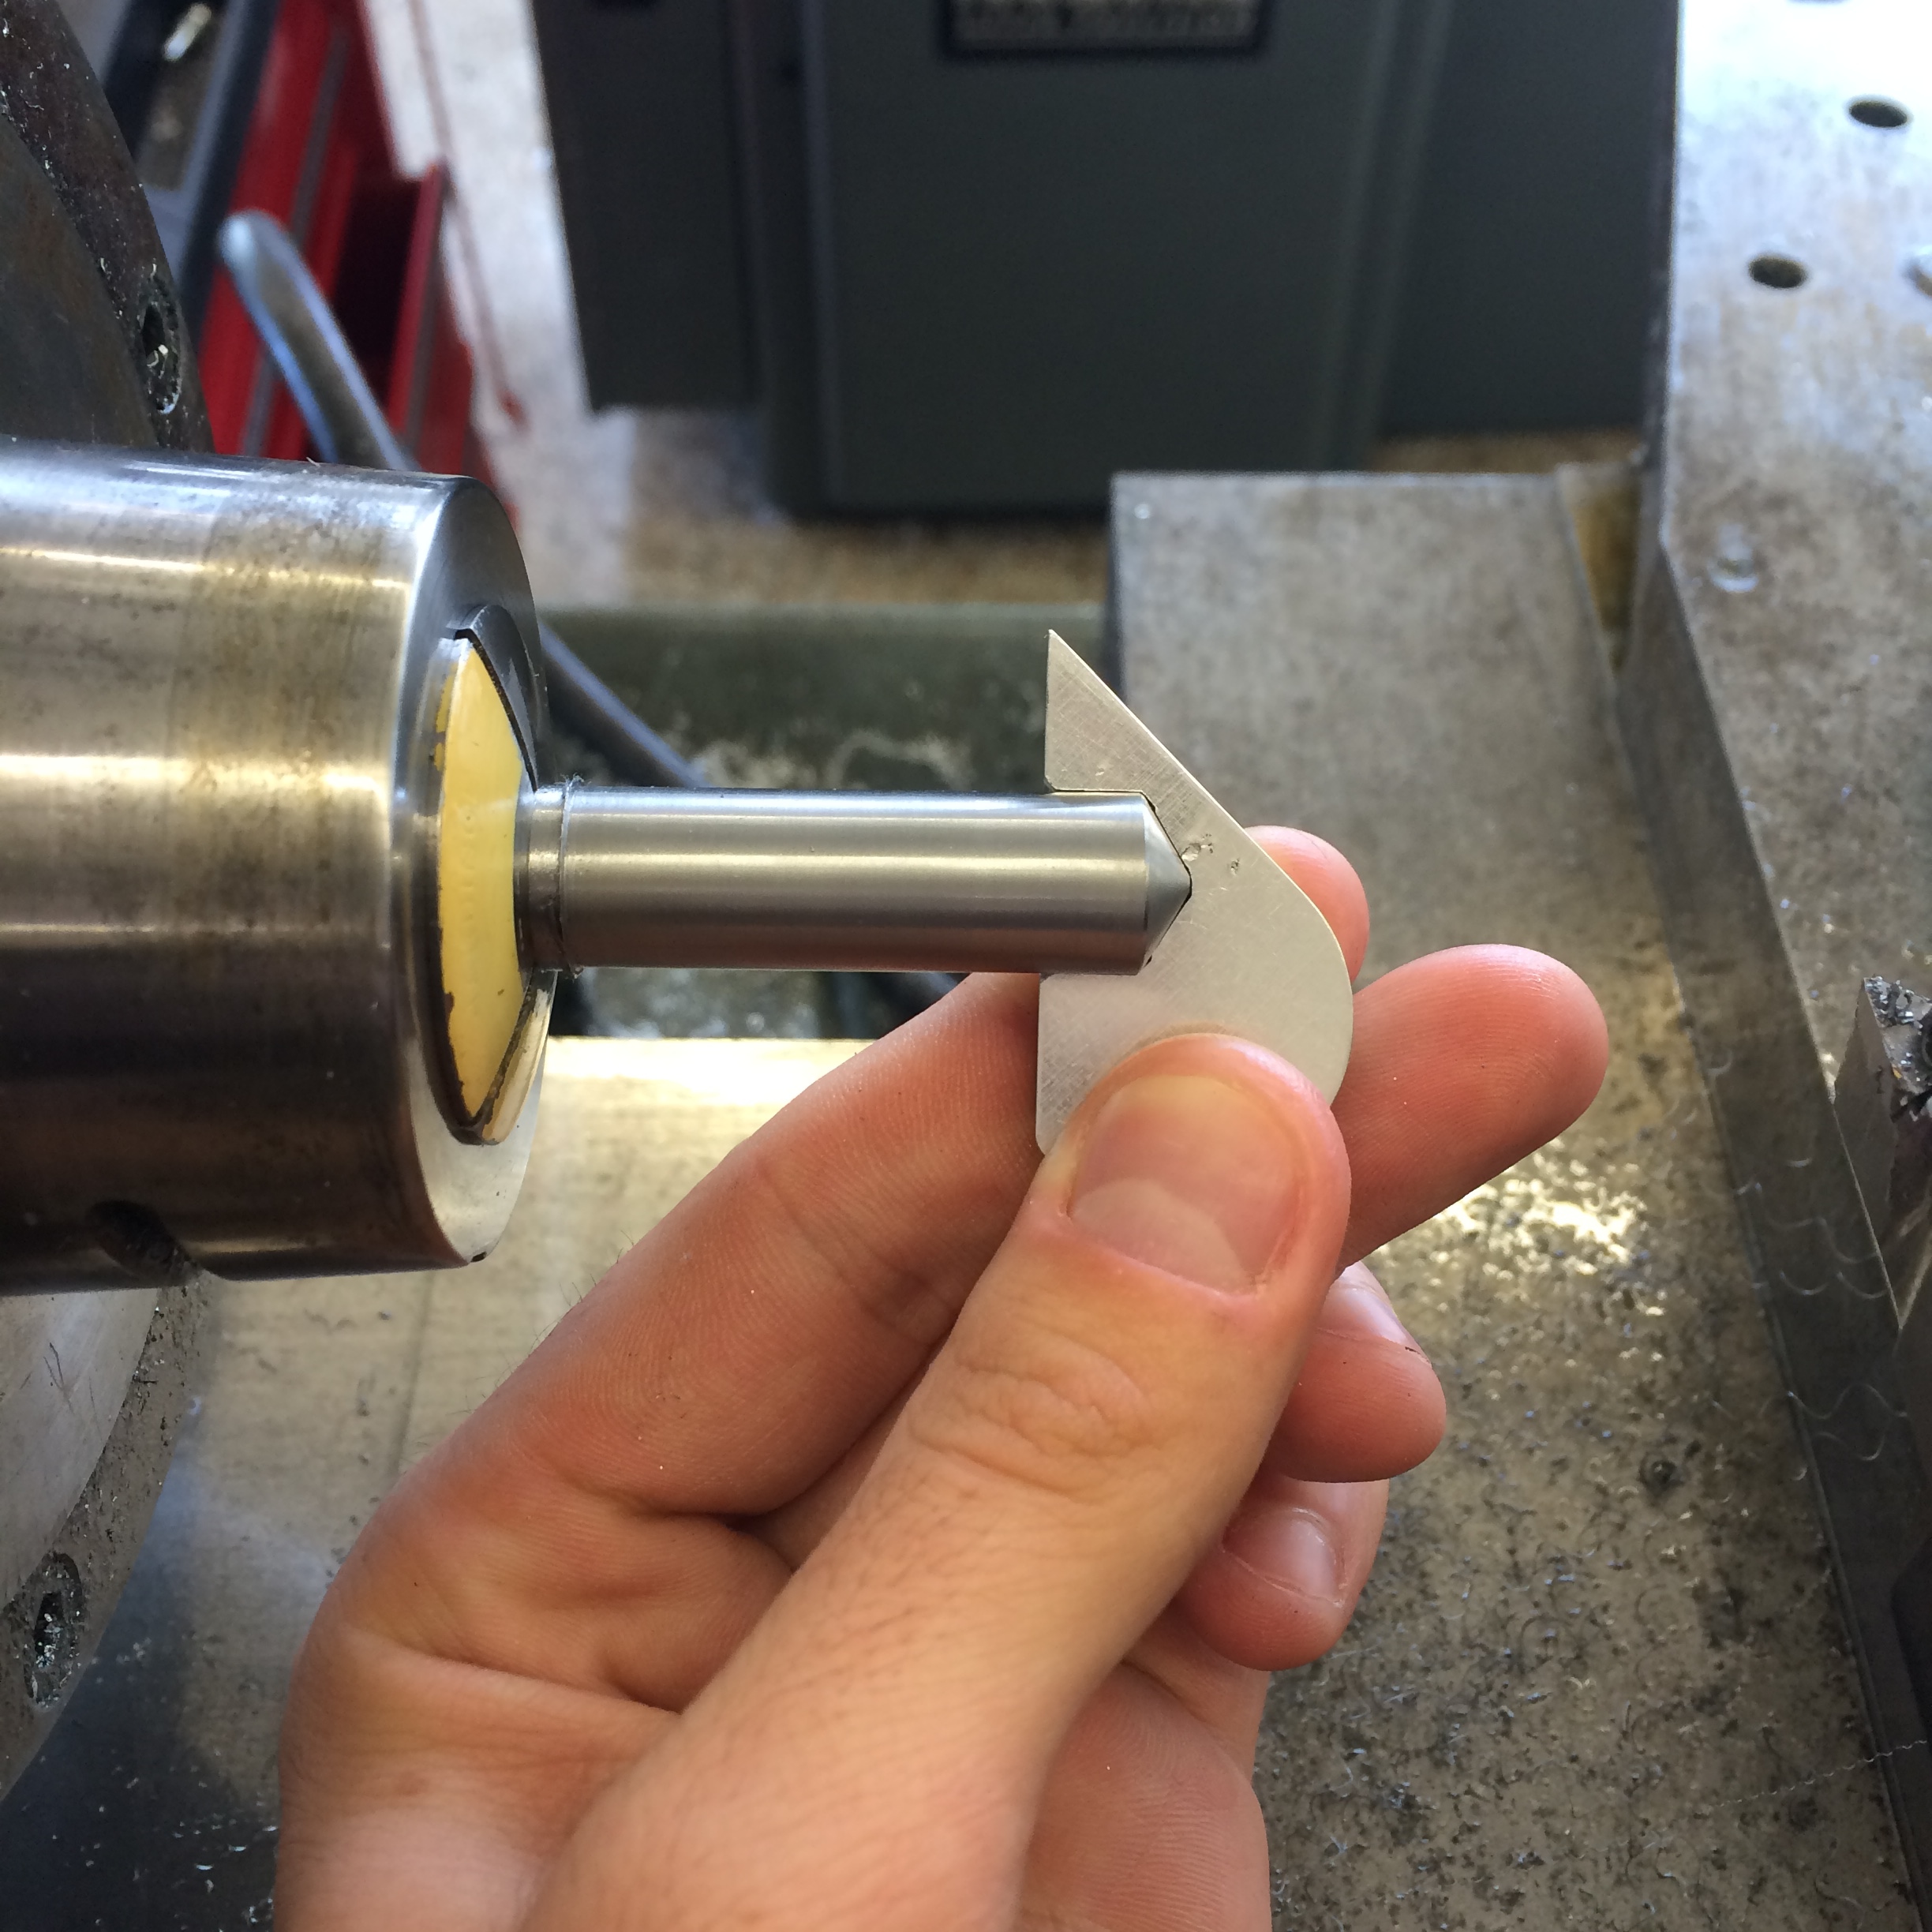
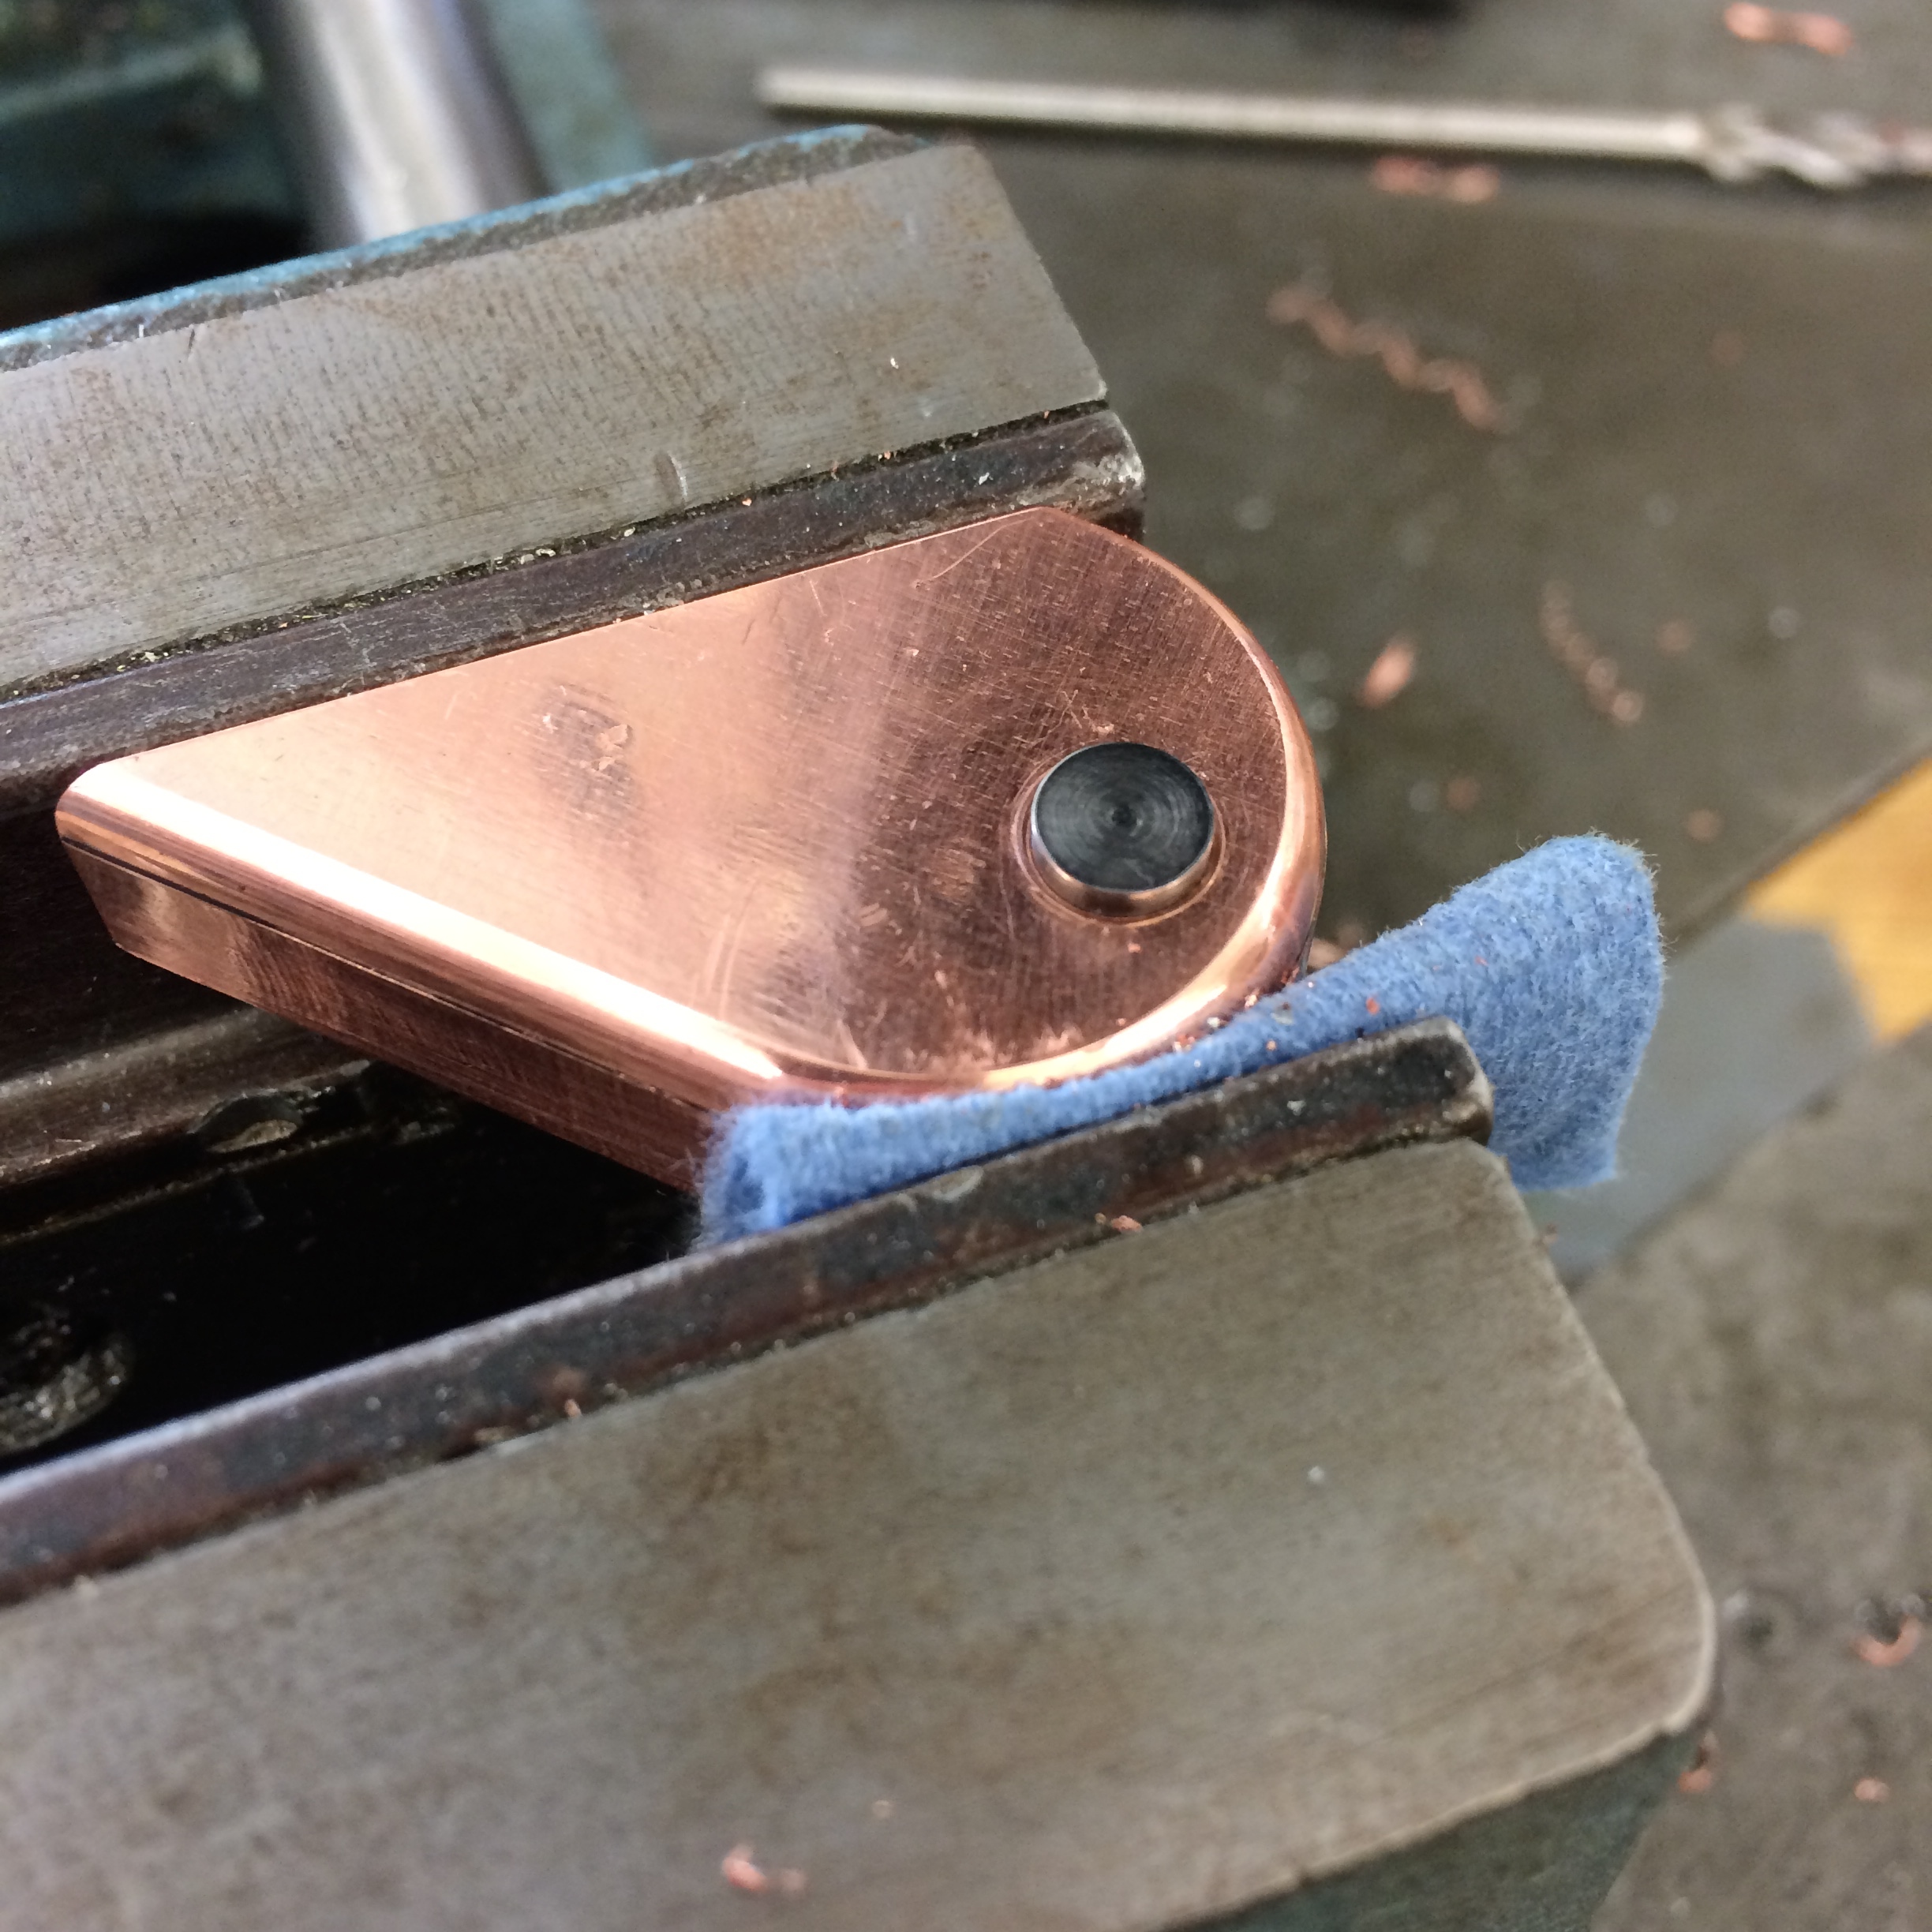
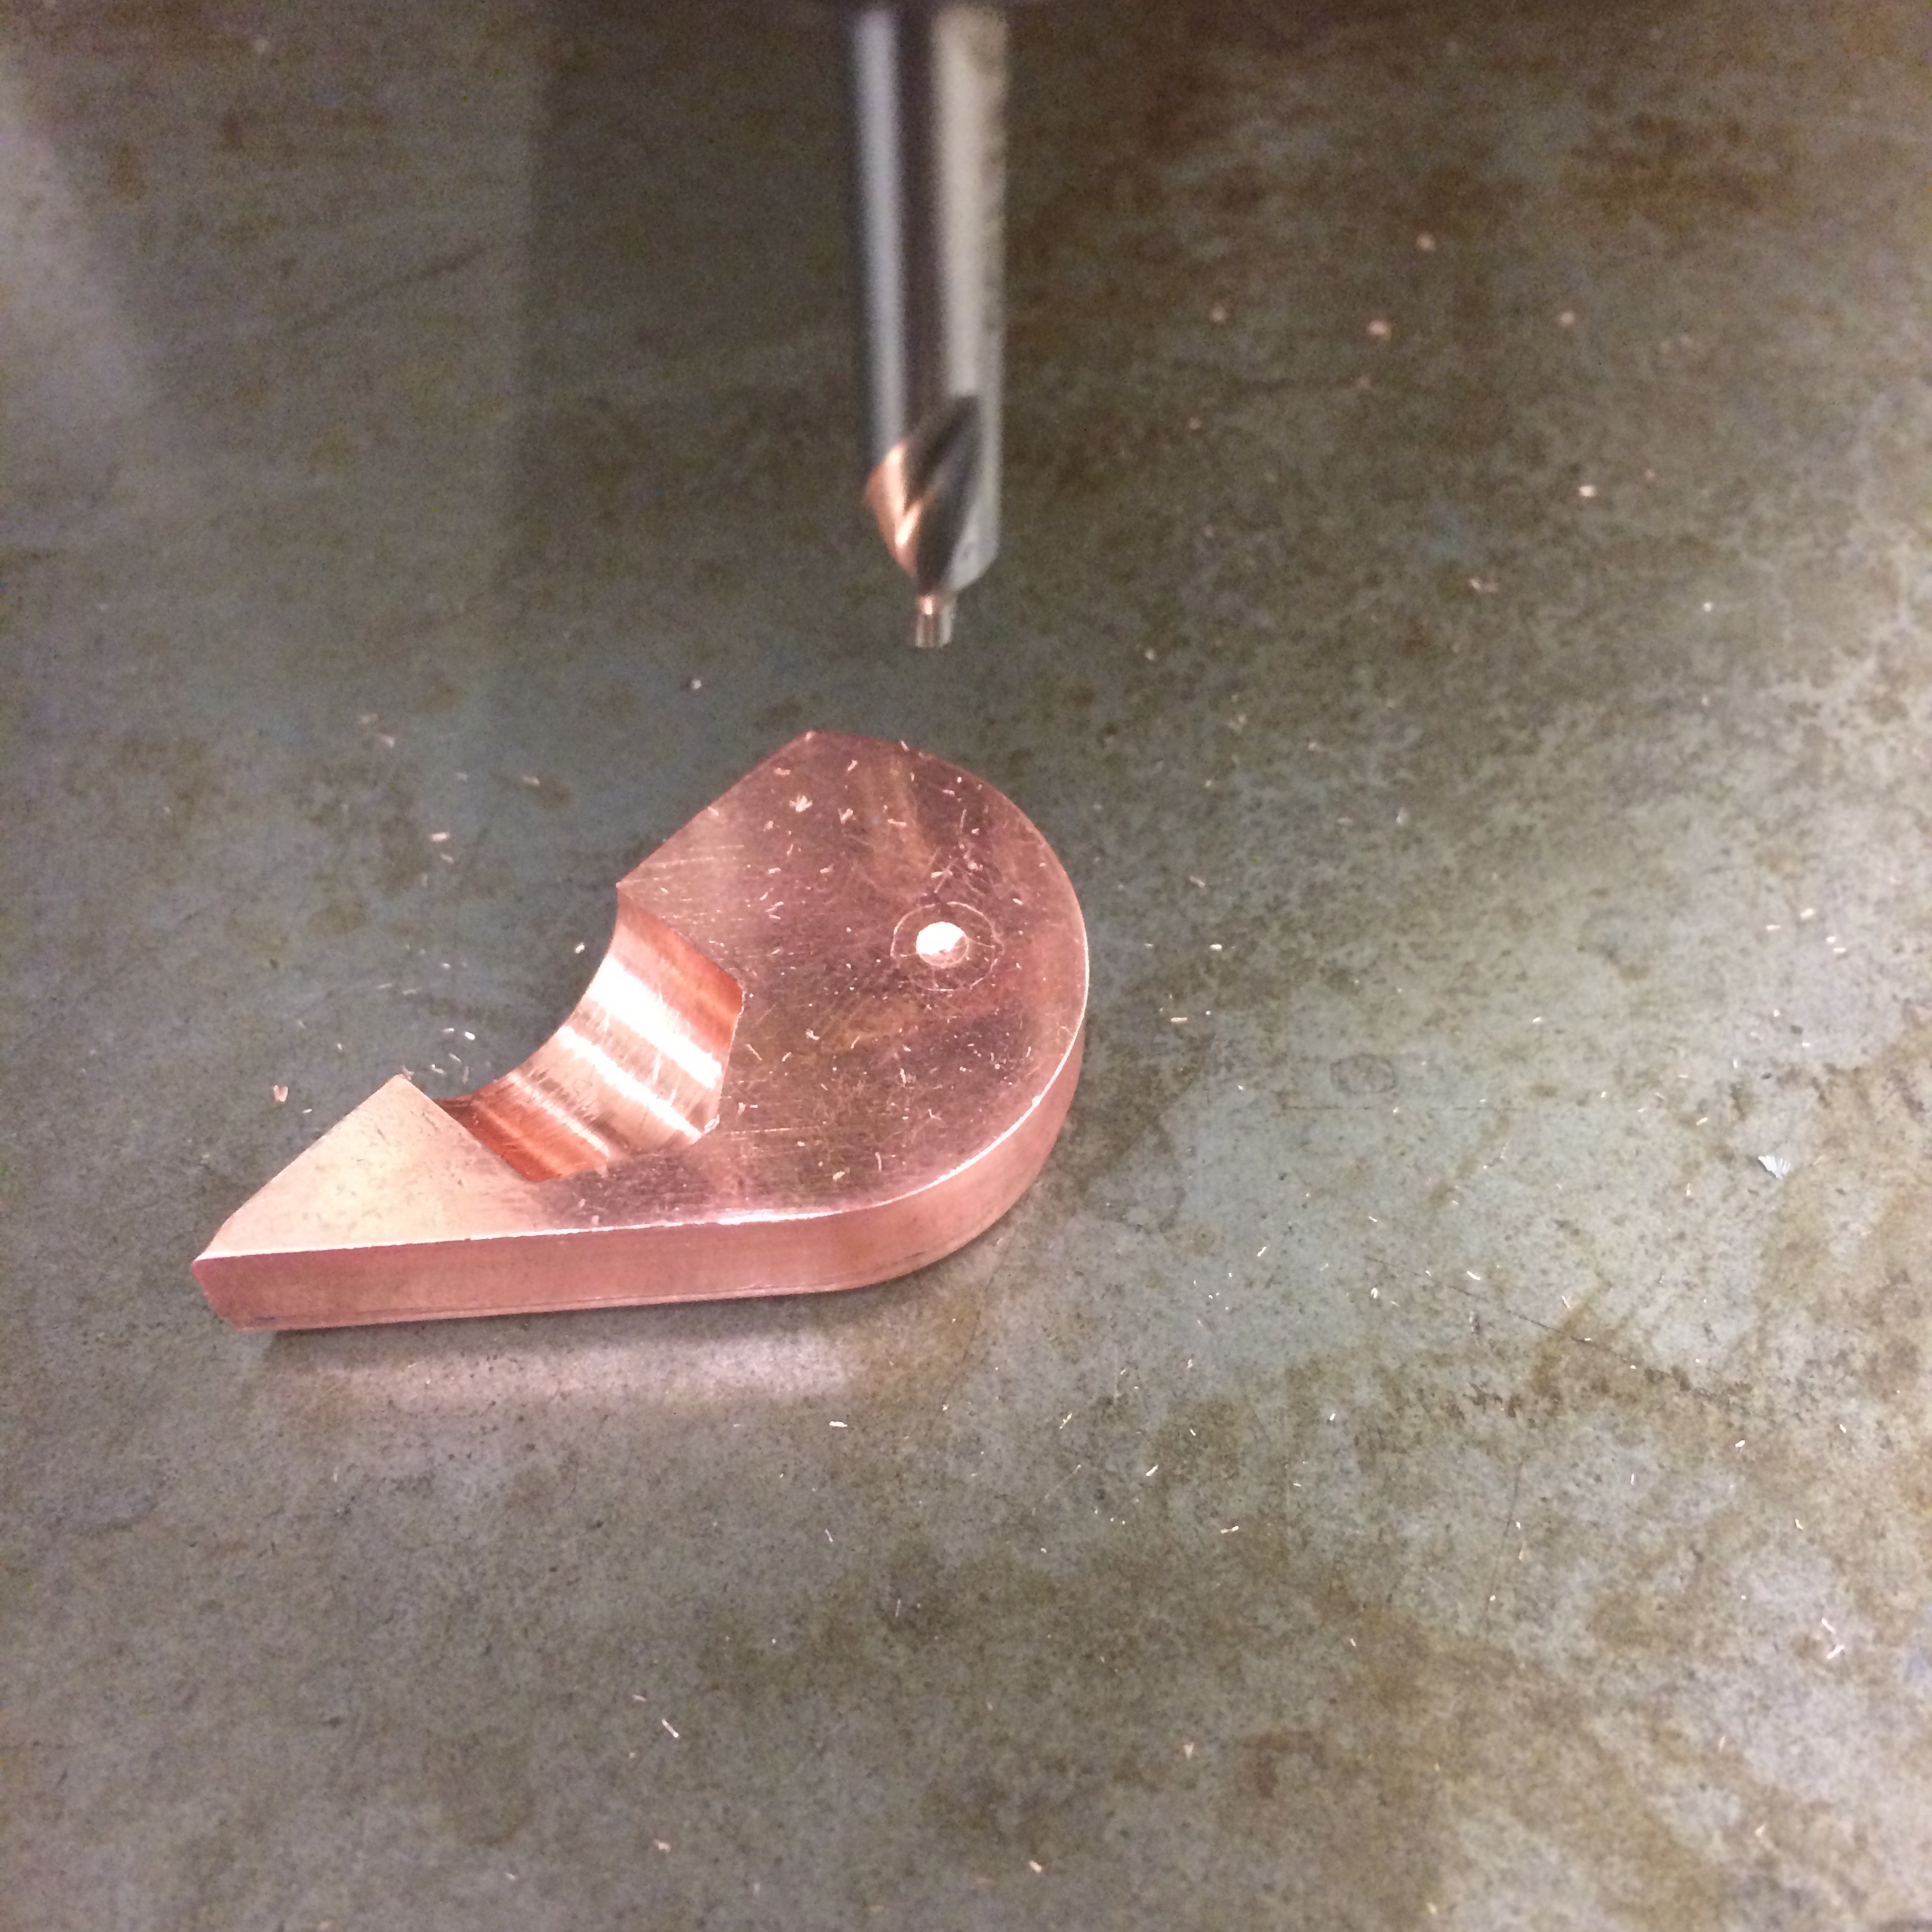
The four pieces of the body were CNC milled from copper. A corner rounding endmill was used to round the corners of the parts for a more aesthetic look. I selected copper because I wanted to give the copper a nice red patina, however I had great difficulty making the patina consistently and I did not want all four parts of the locket to be slightly different shades of red. So I decided to just leave the natural copper color and coat it in shellac to prevent the surface from tarnishing.
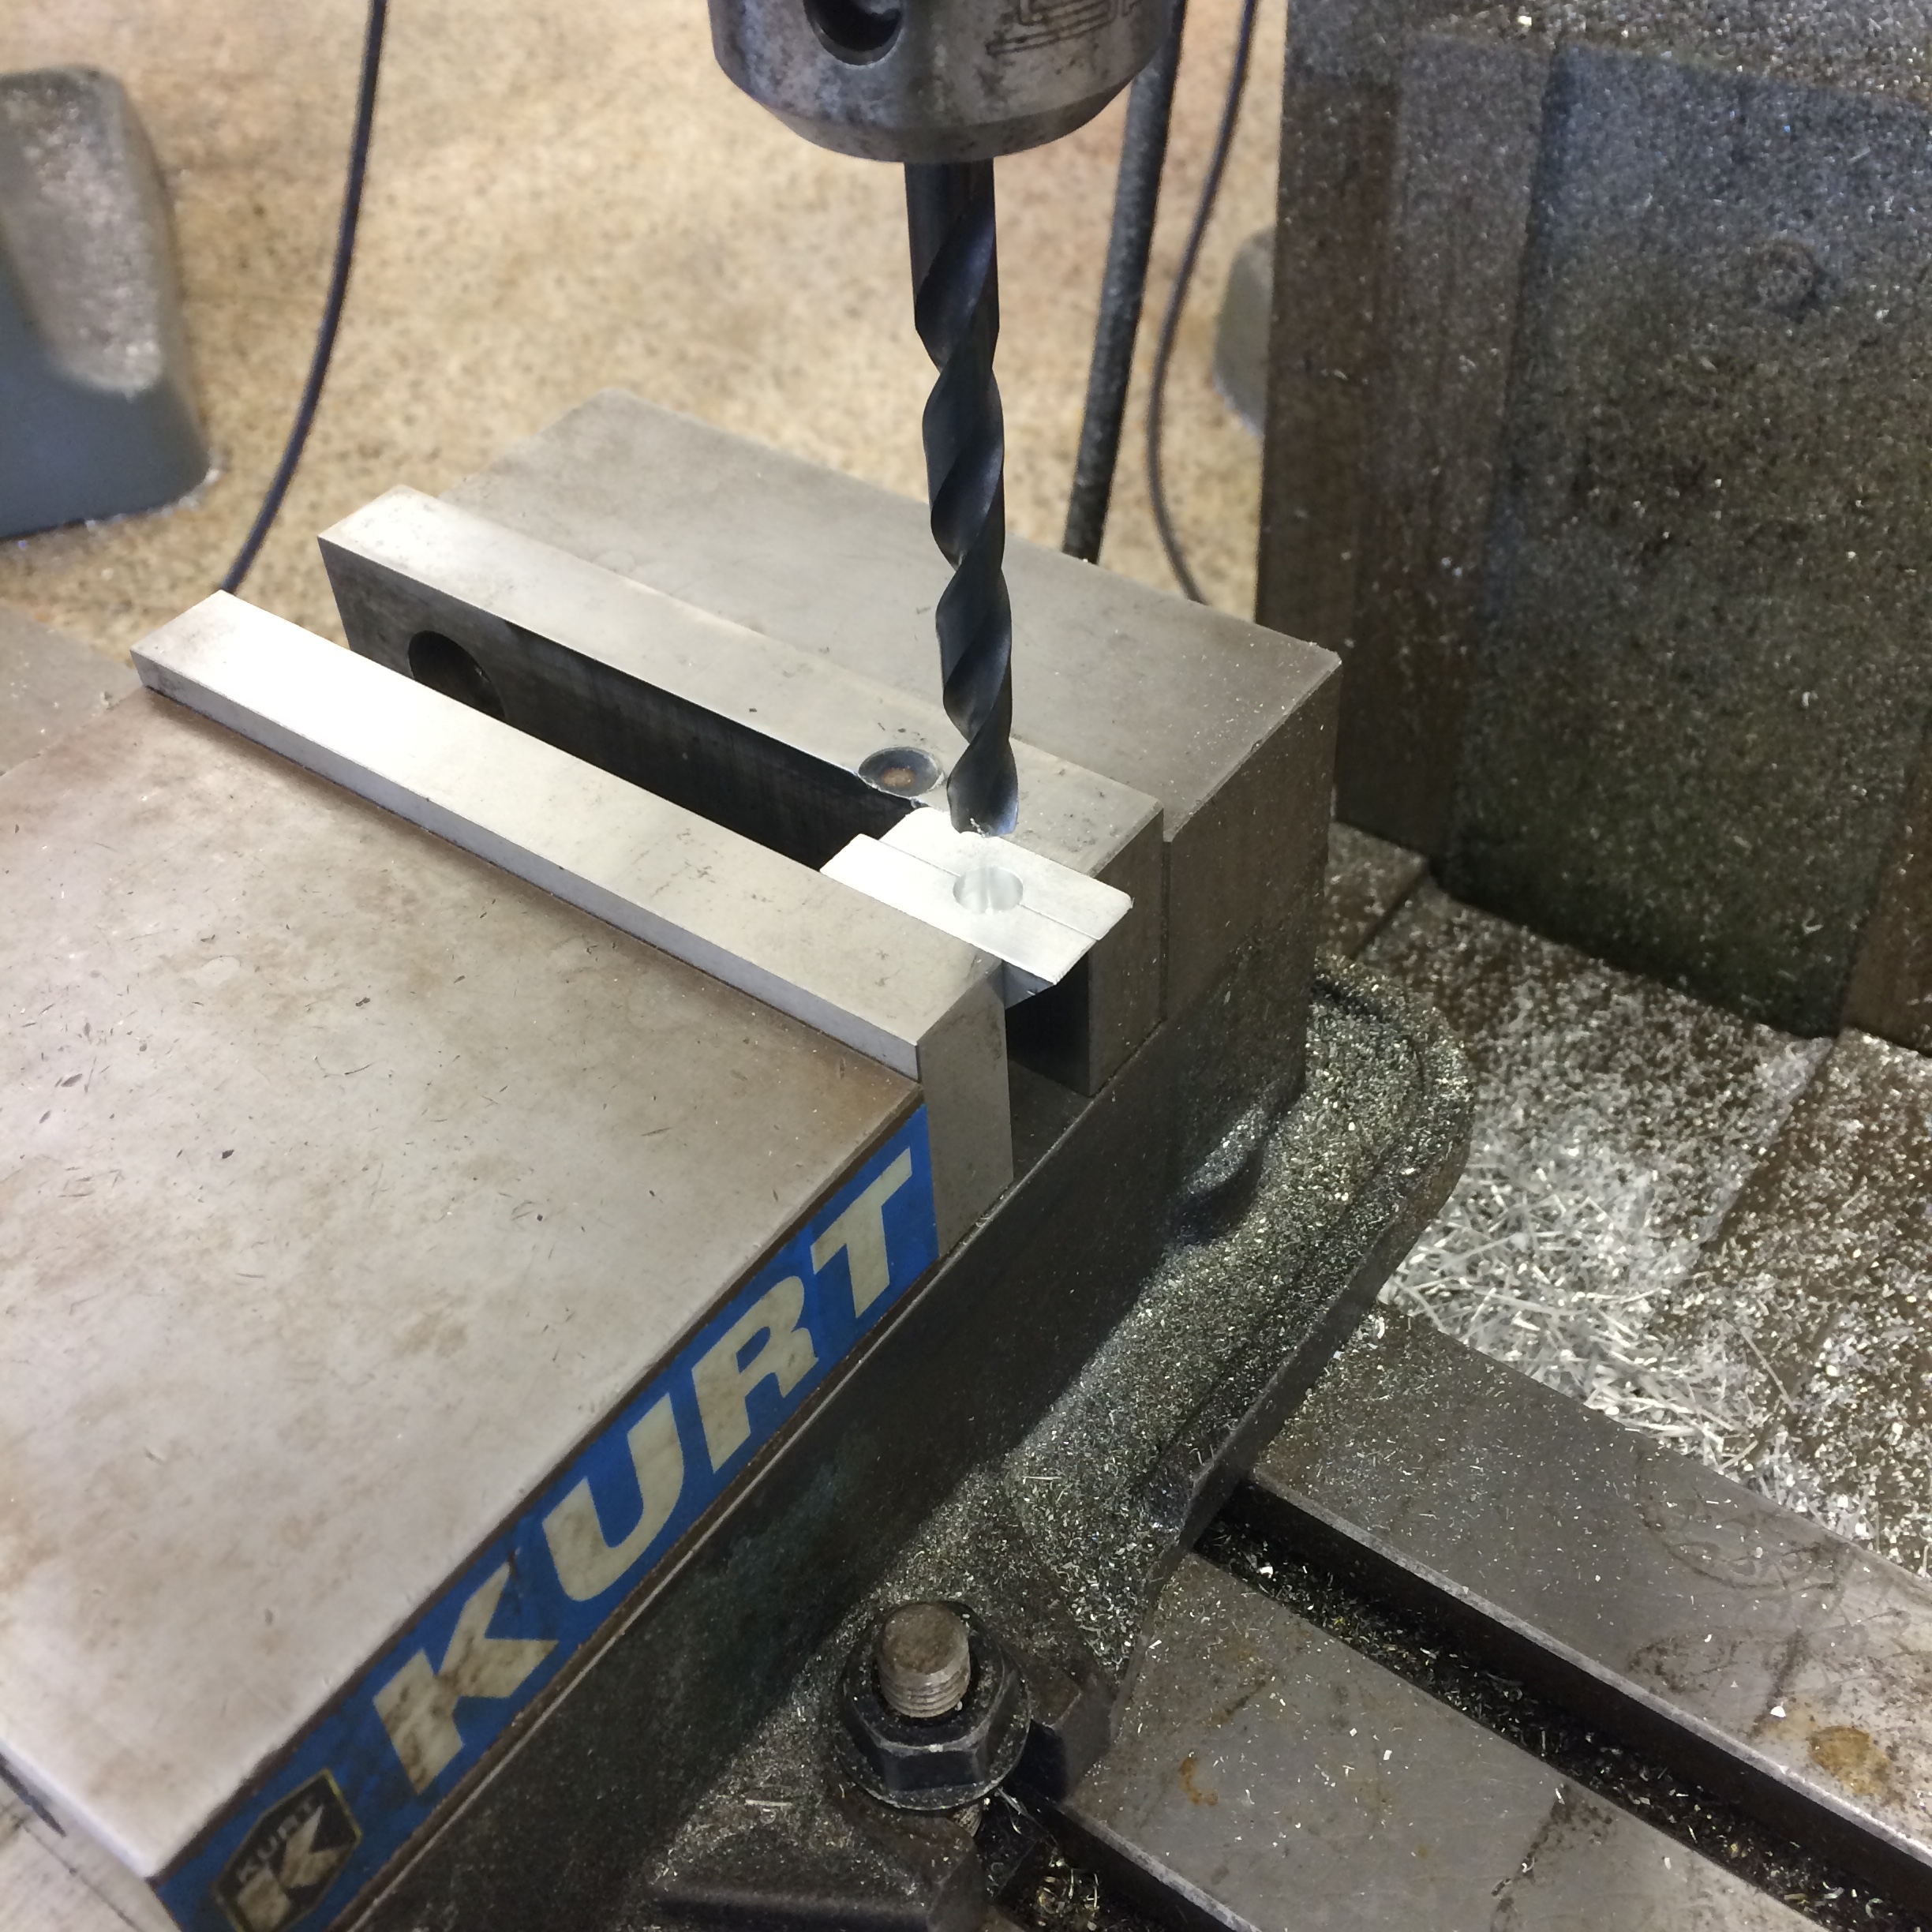
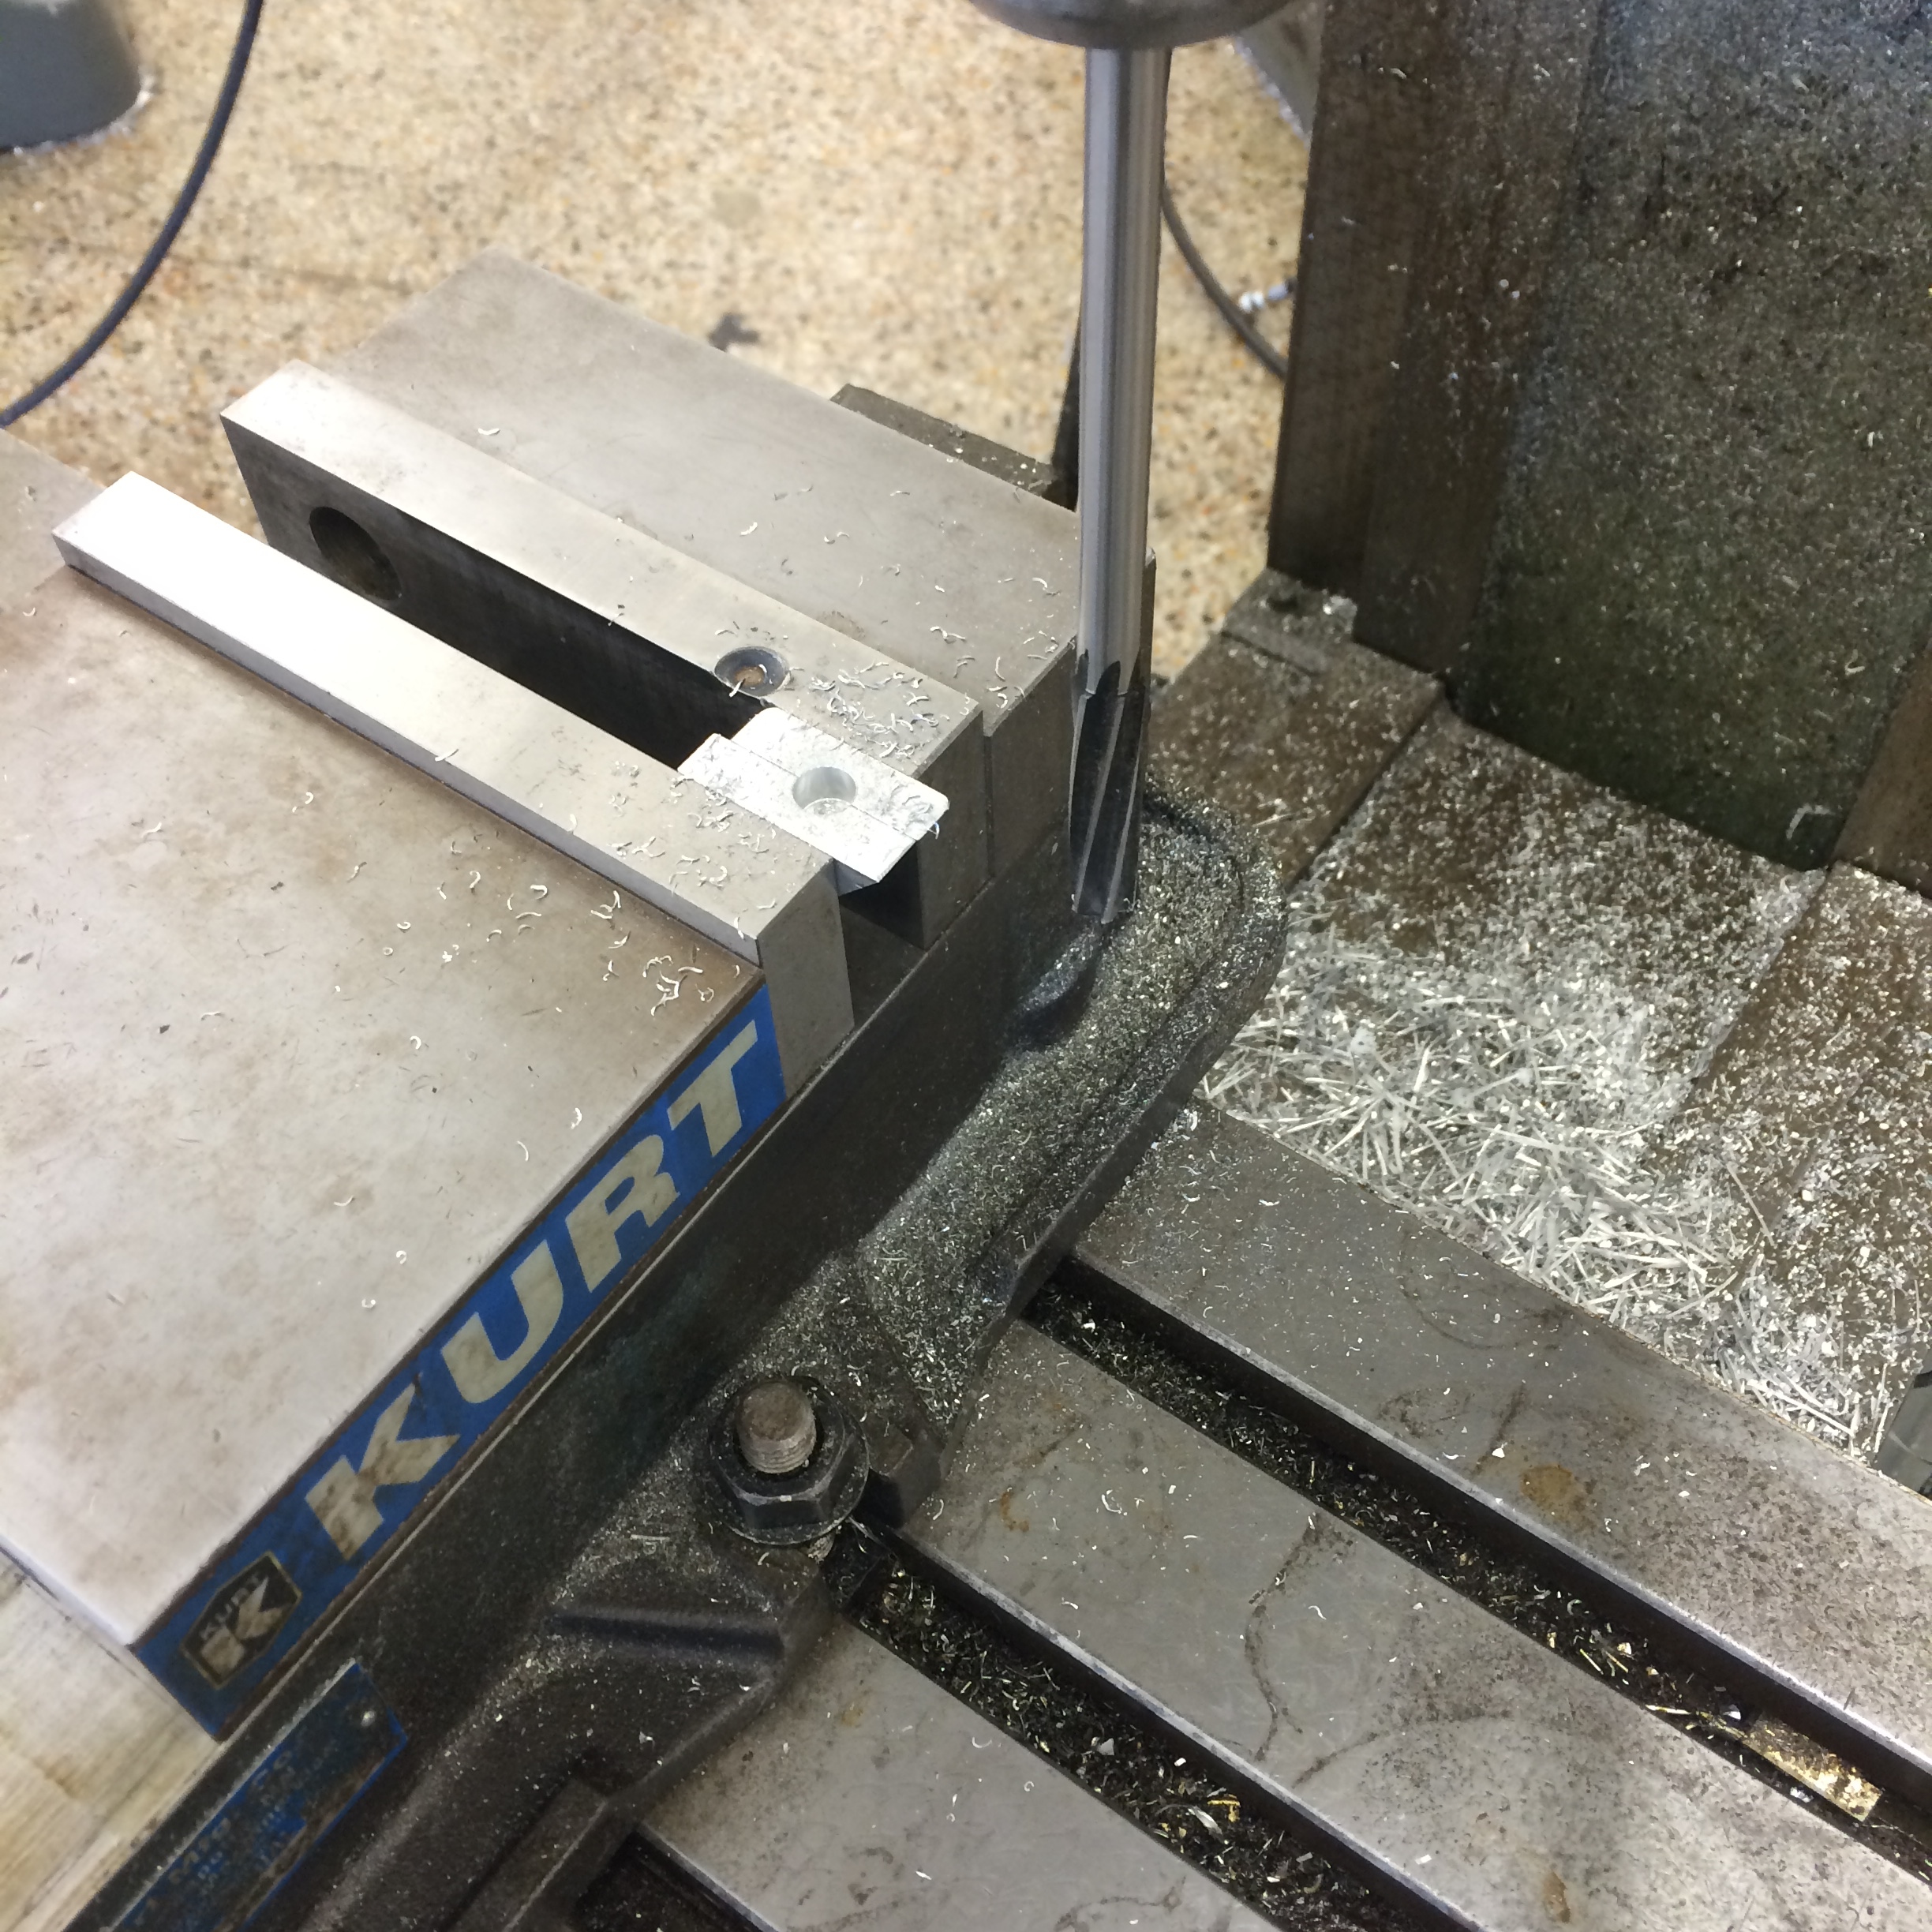
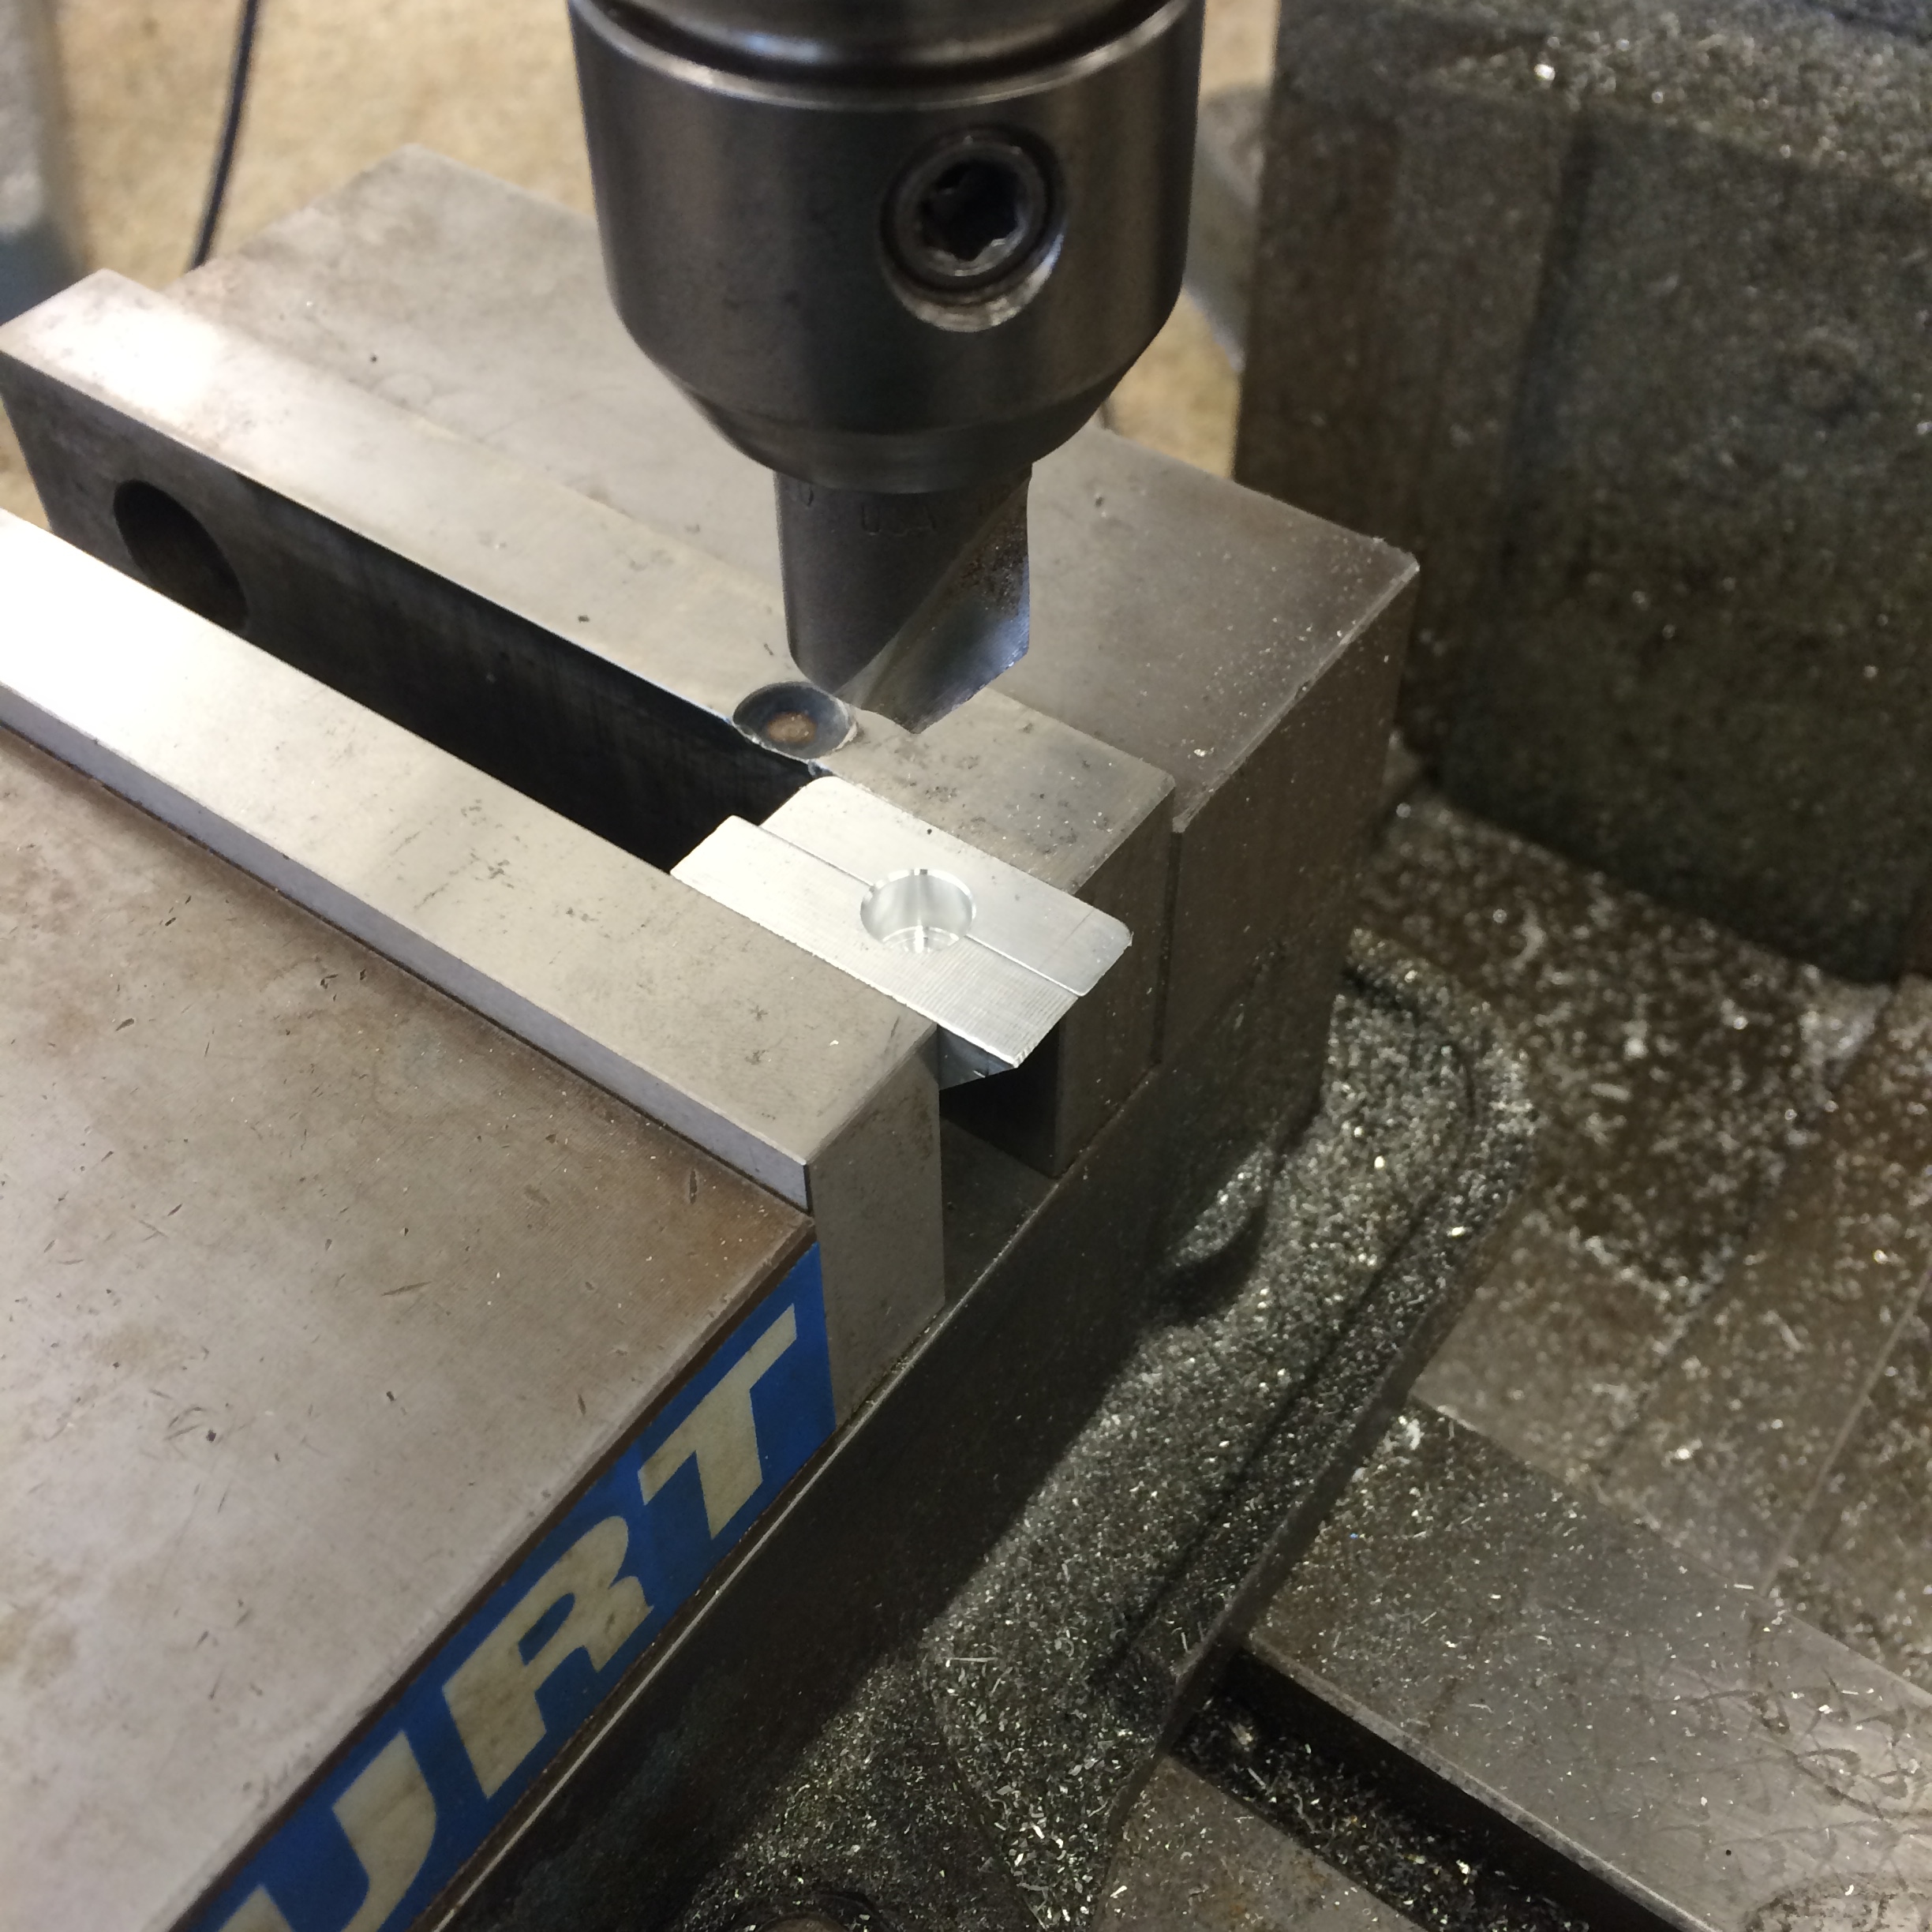
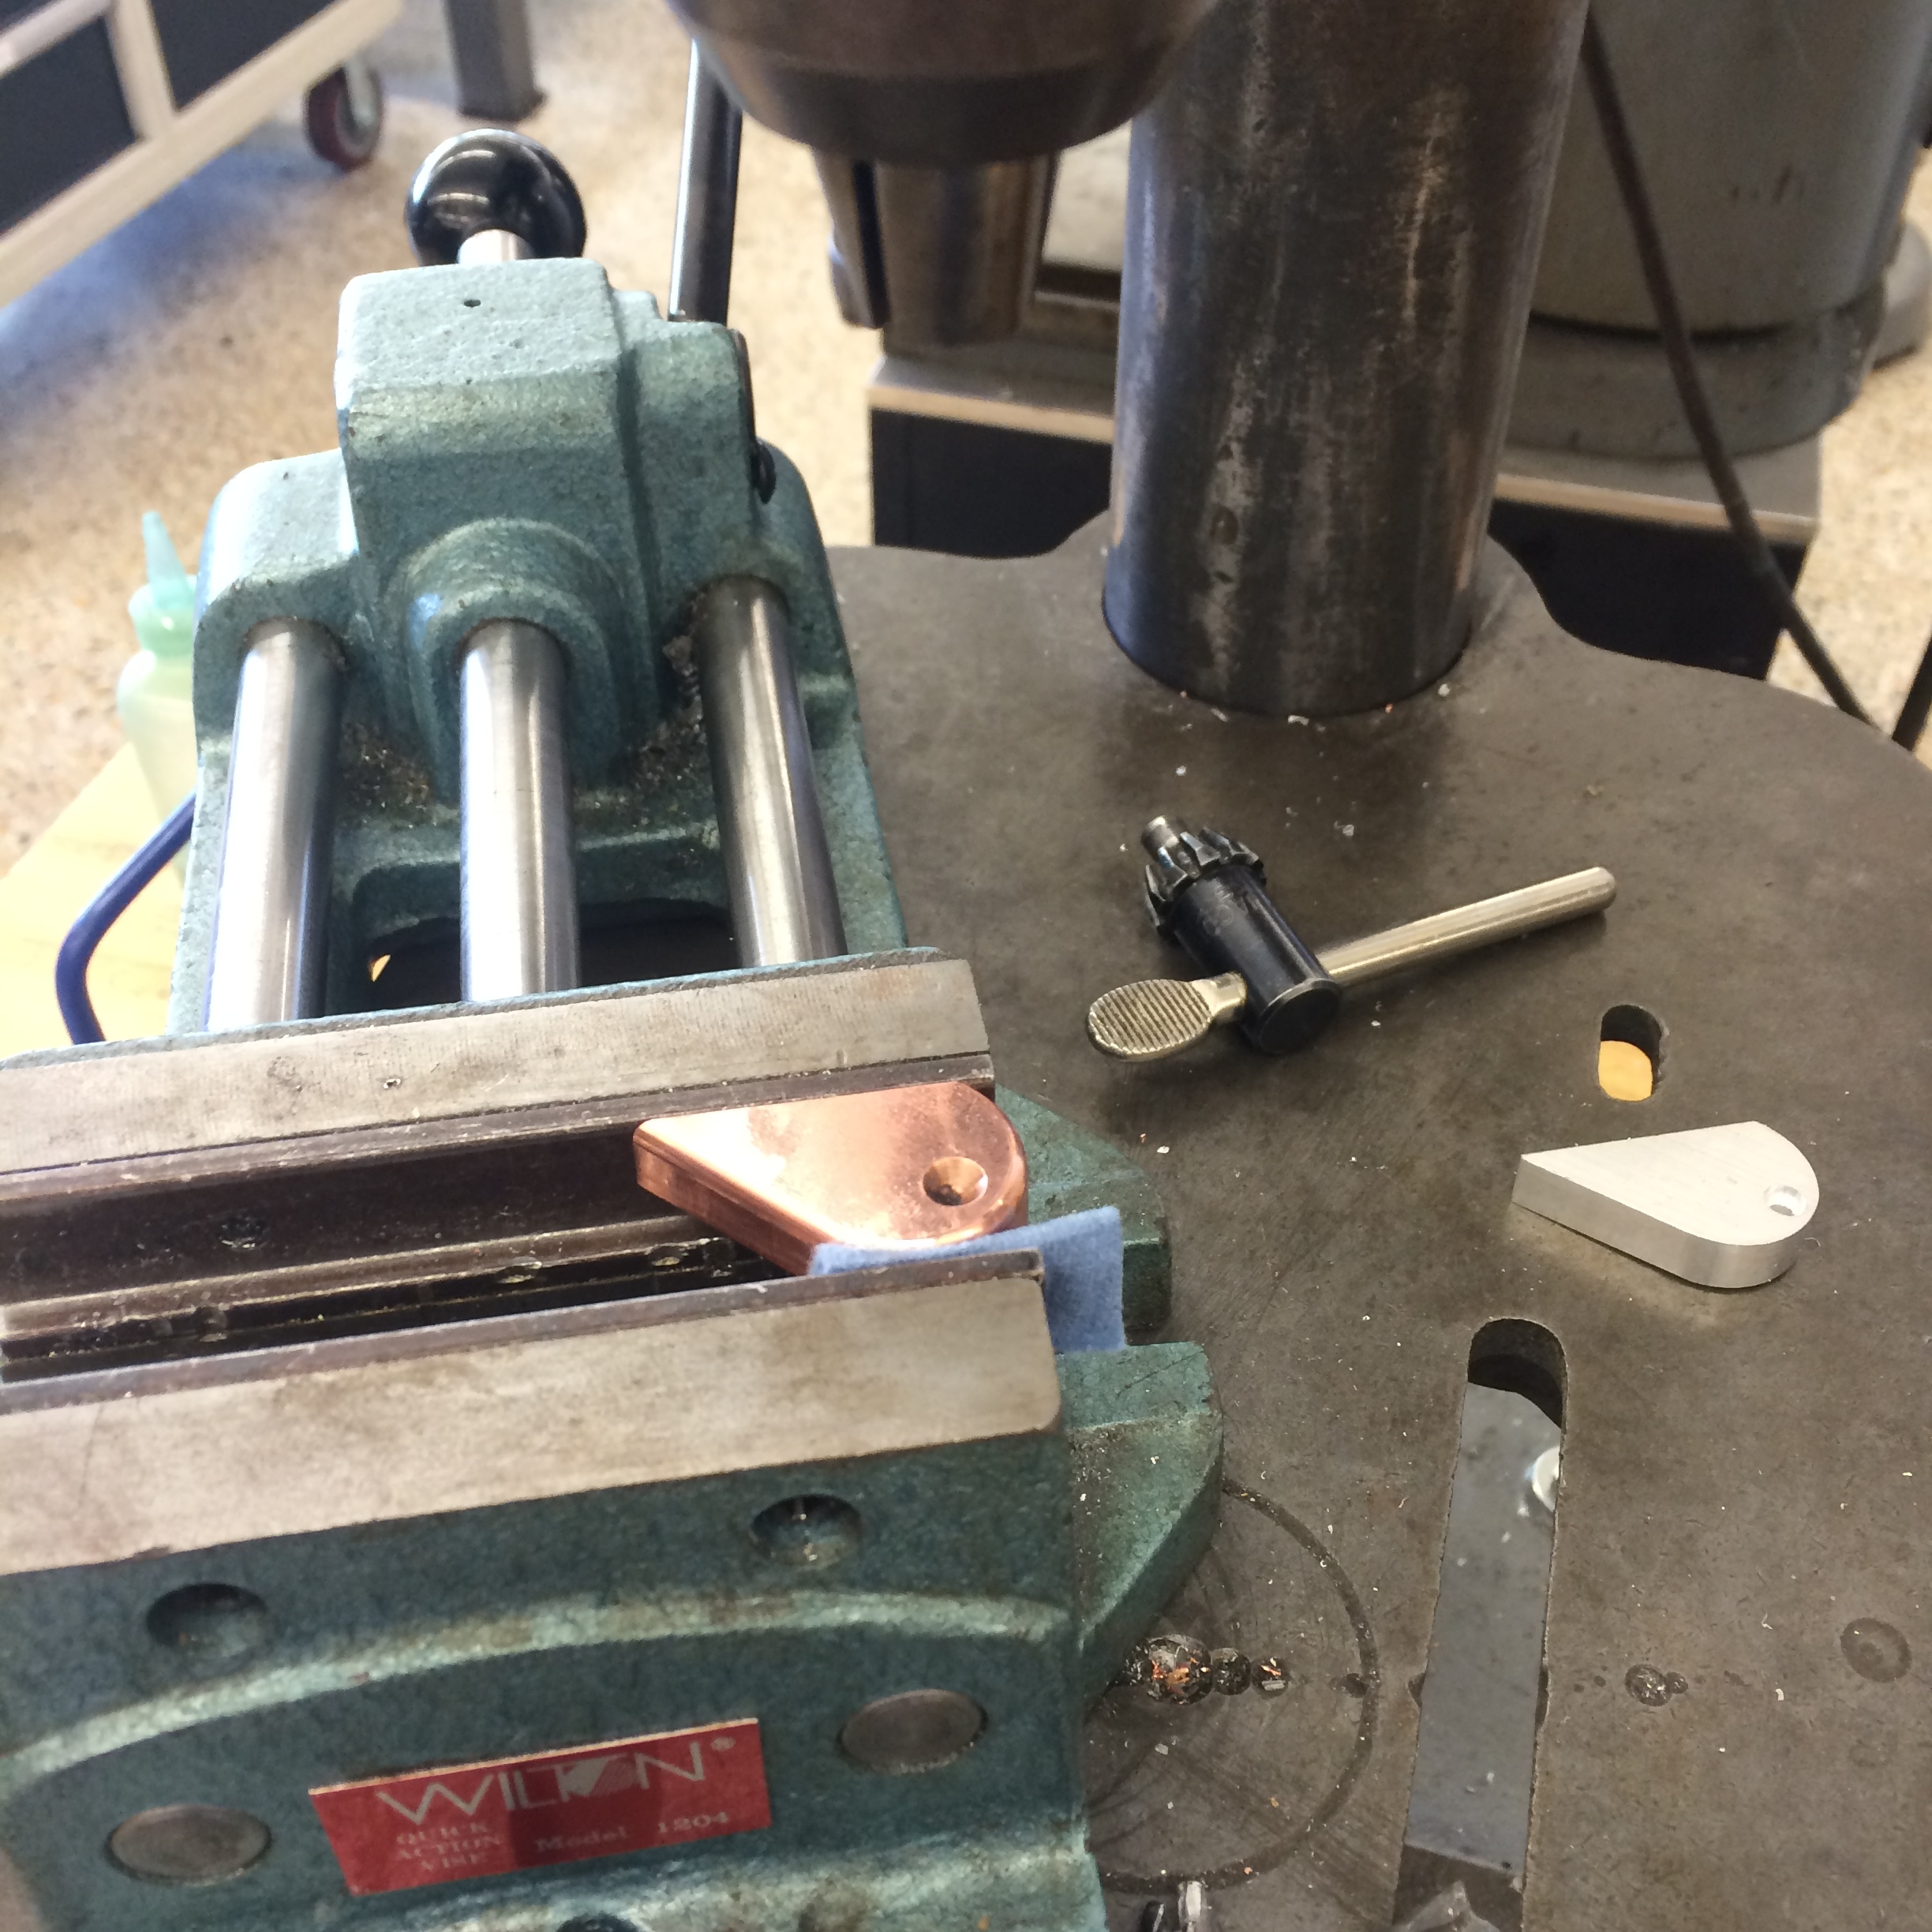
Following the CNC operation, the four body pieces are manually drilled on the milling machine to form the semicircular holes for the barrels, and the holes for the magnets and hinge pin. Because semicircular holes cannot be drilled, the two mating pieces of the body had to be clamped together in the vise and drilled along their seam. This worked very well, except for the small burr that forms at the bottom of the hole where the seam is. I could have used an endmill to form the semicircular feature, however the work would have been very difficult to mount and probably would have required a custom fixture.
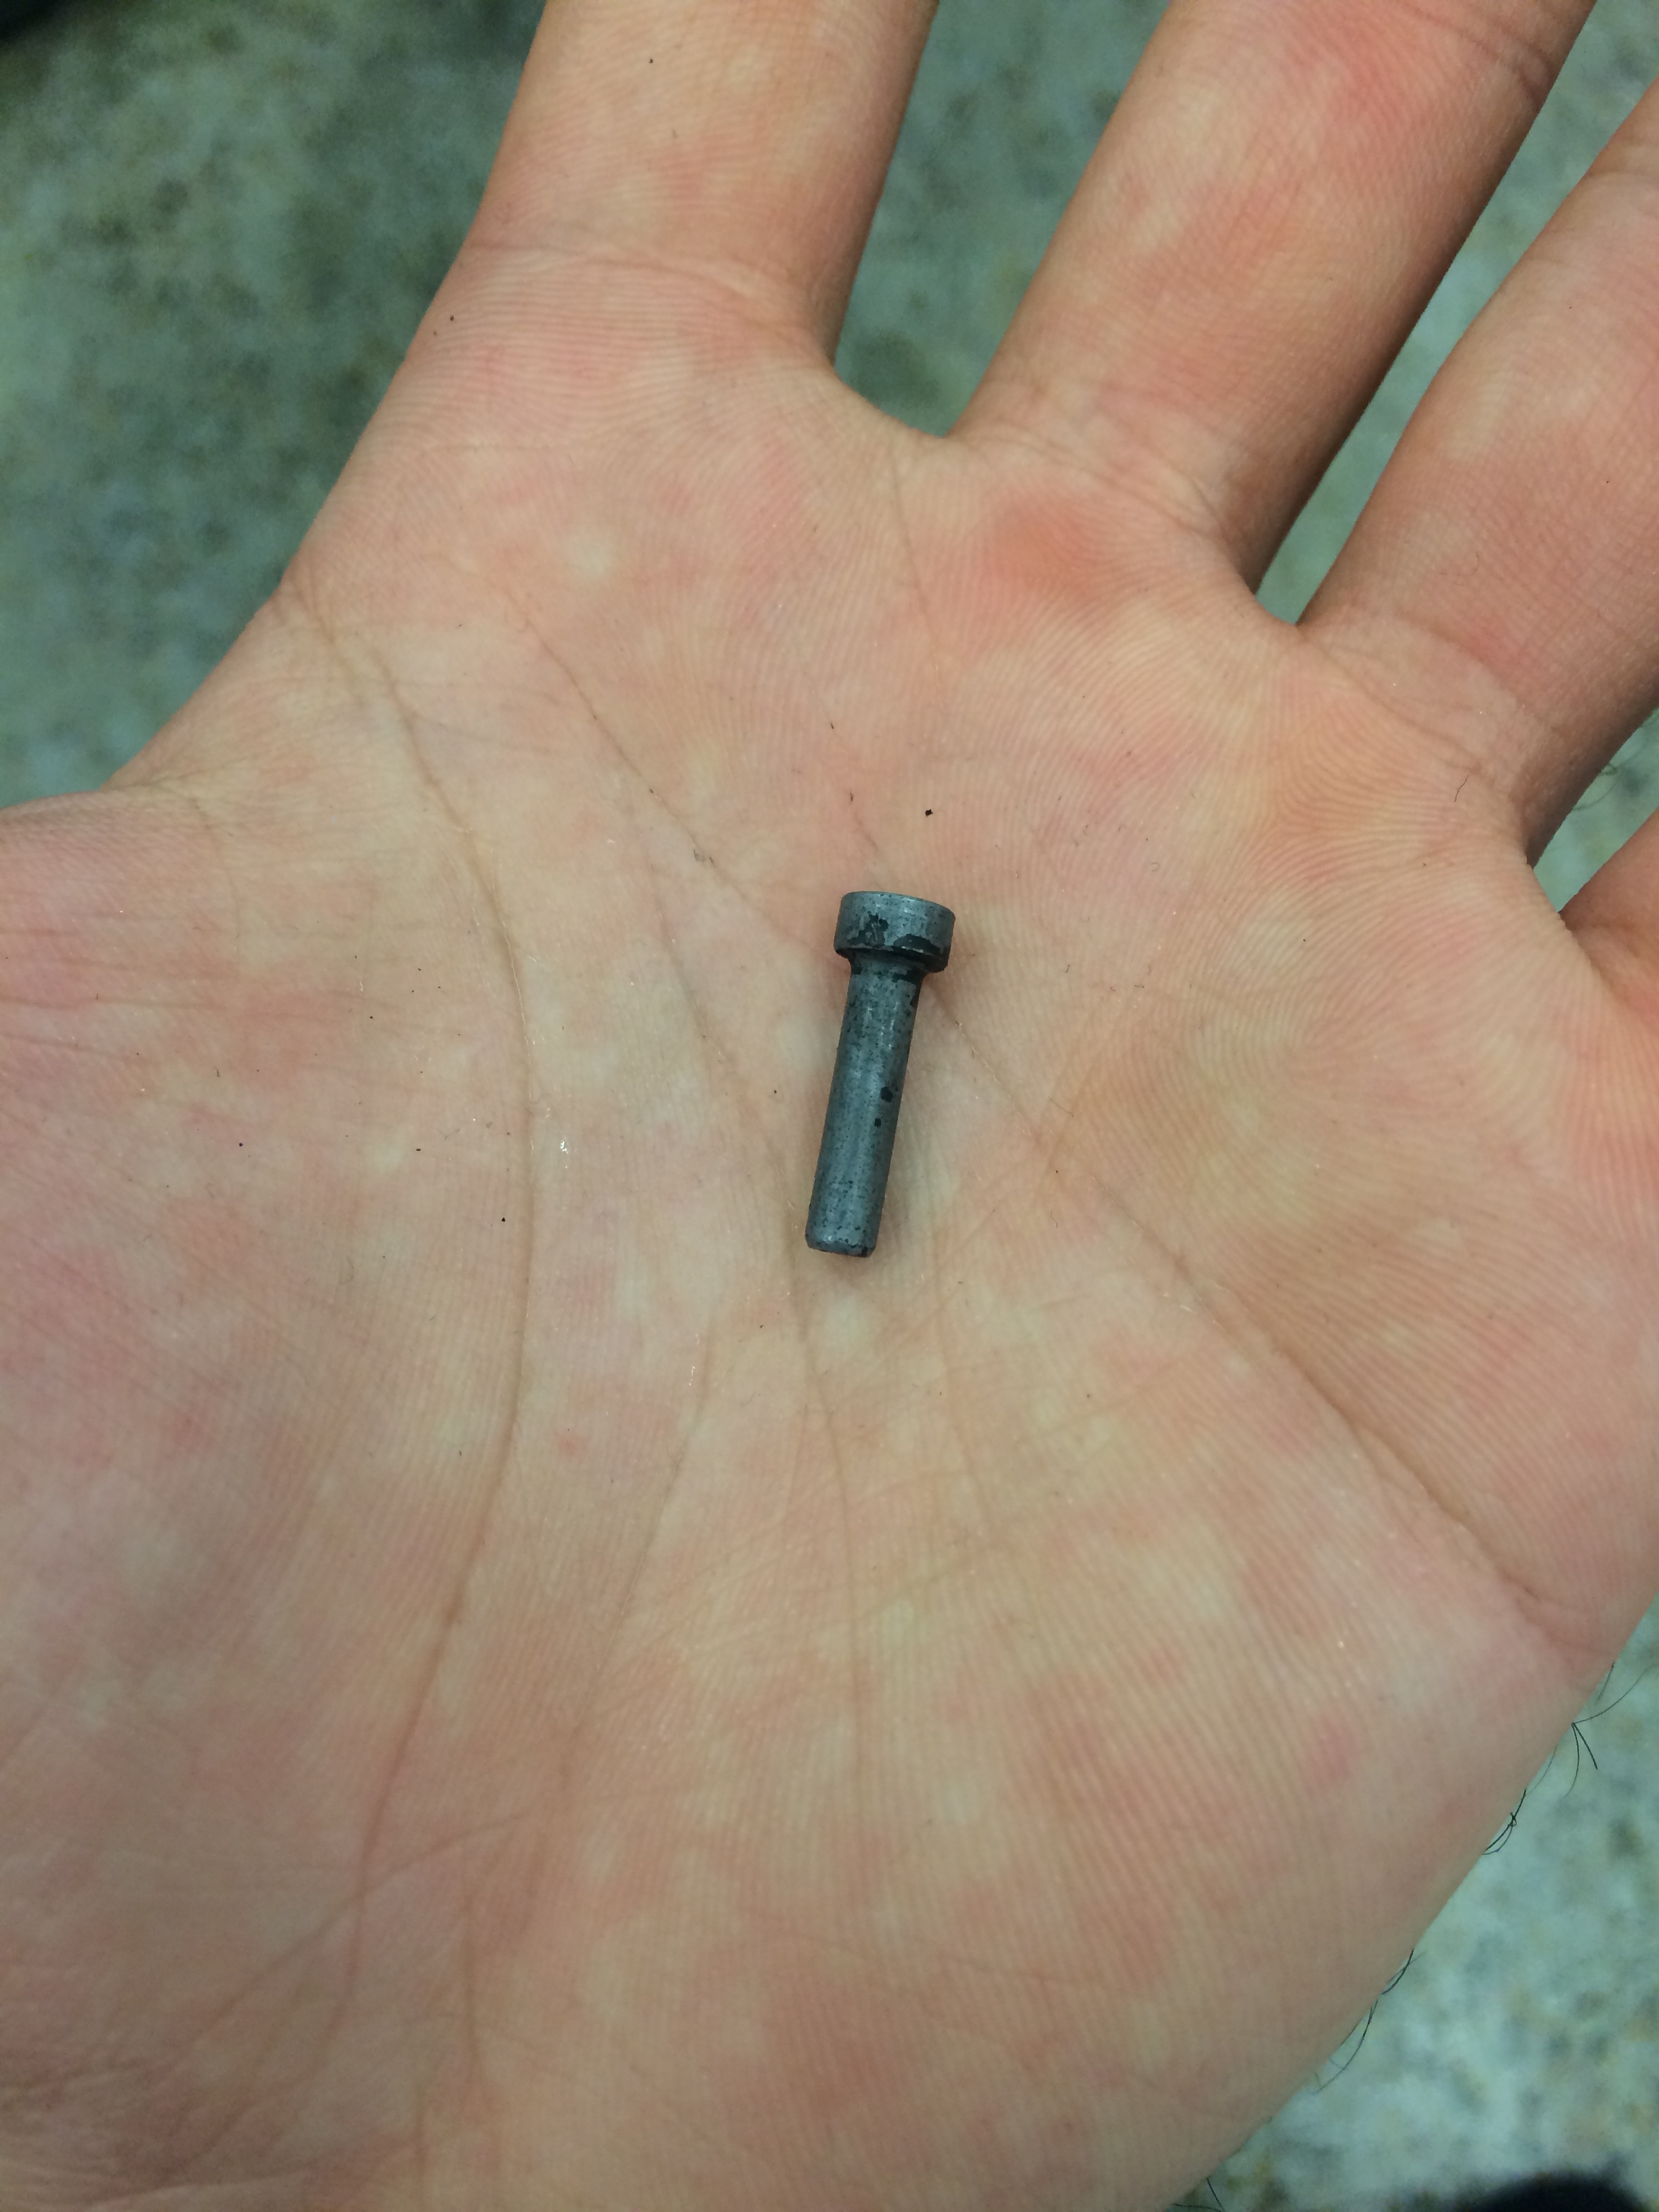
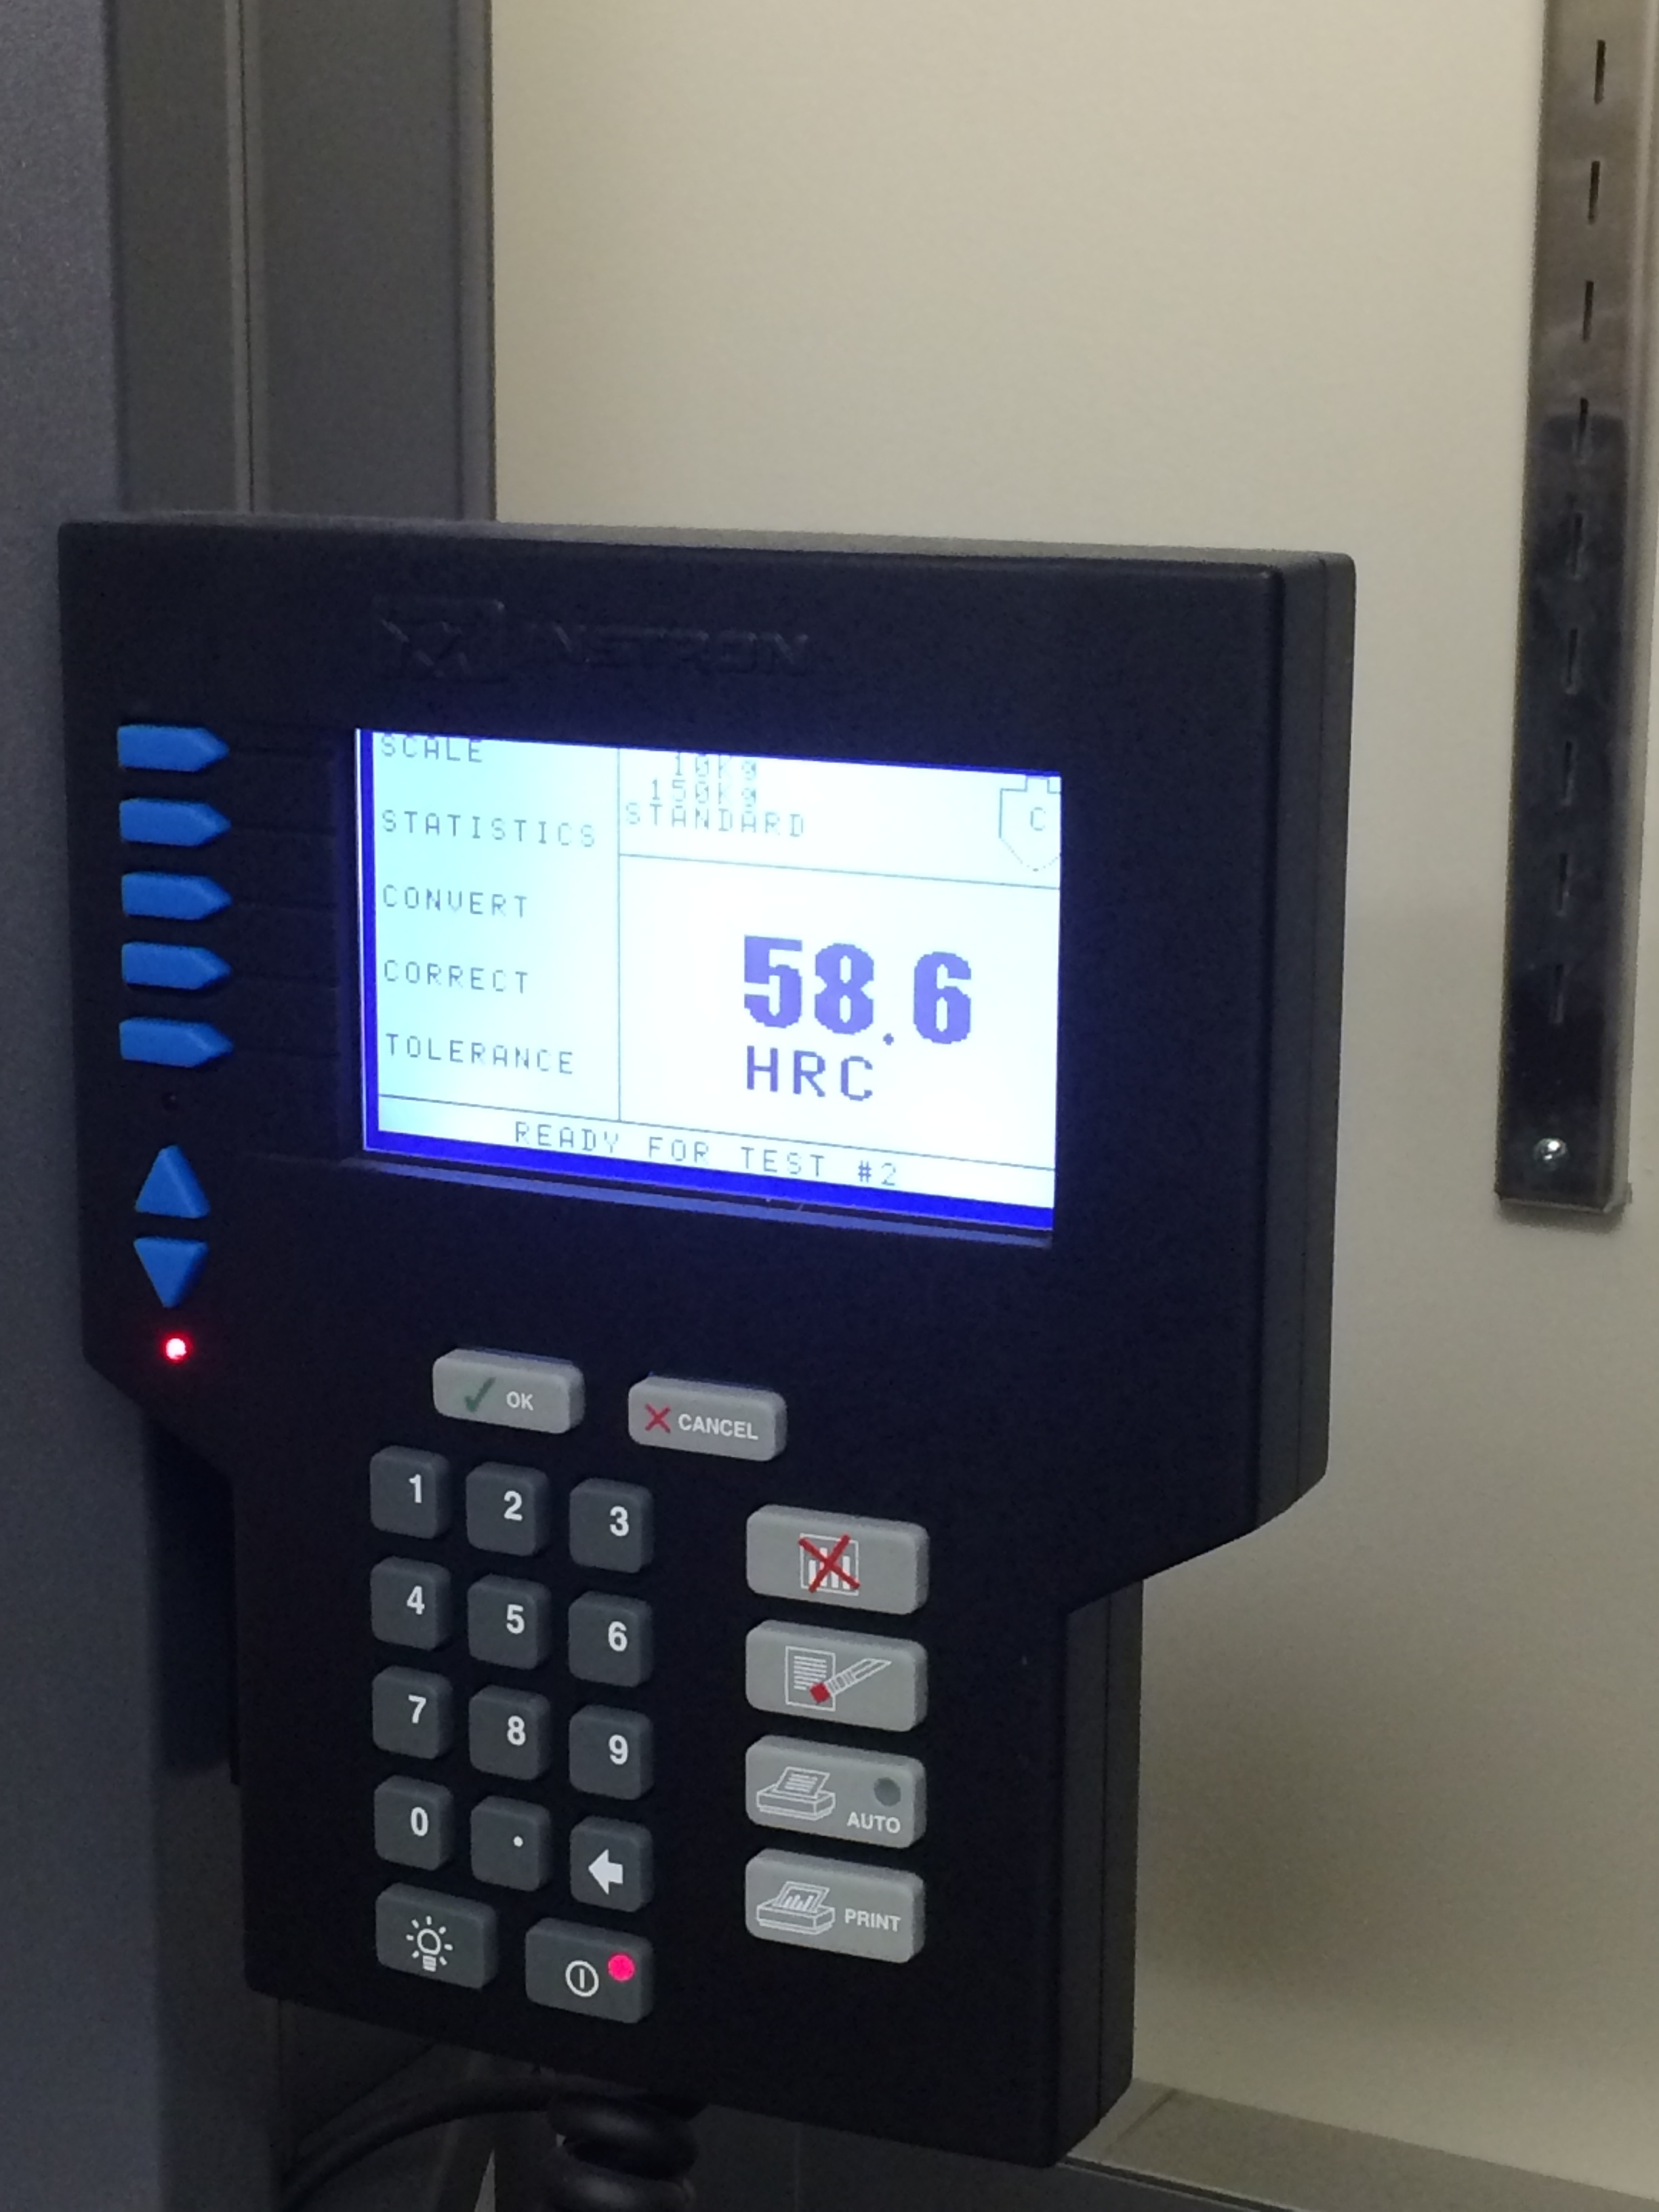
The hinge pin was turned from O1 tool steel and hardened to 59HRC using an electric furnace to heat the part followed by an oil quench. The hinge pin goes through two pieces with an interference fit on the lower piece and a clearance fit on the upper piece to allow it to rotate.
The magnets were supposed to have a press fit in the holes, but I must have ordered slightly different magnets from the ones I originally tested them with because the holes are a few thousandths too large for an interference fit. So I ended up using glue. Another difficulty I did not foresee was how I was going to fix the barrels within the body. I originally thought I would braze/solder them in, but then I changed my mind about the surface finish of the copper and heating the copper would tarnish it. Also the excellent thermal properties of copper make it very difficult to heat and braze anyway, because all the heat is immediately conducted away.